You've got the take that sounded fine in headphones but suddenly turns thin, noisy, or weirdly roomy in the edit. Maybe the mic was too hot, maybe the room reflected everything back at you, or maybe the recording is “clean” in the sense that it's now full of artifacts you can't ignore.
How to clean up bad audio isn't about slapping on the biggest denoise preset and hoping for the best. The essential job is diagnosis, order, and restraint, because the wrong fix in the wrong place can make speech less natural, less intelligible, or harder to transcribe.
Table of Contents
- Start by Hearing What's Actually Wrong
- The Five Problems Behind Almost Every Bad Recording
- Pre-Processing Checks That Save Everything Downstream
- The Right Order of Operations for Cleanup
- When AI Cleanup and Stem Separation Beat Manual Chains
- Export Settings, Loudness, and Final Delivery
- When Cleanup Backfires and How to Catch It
Start by Hearing What's Actually Wrong
If the recording sounds bad, don't touch the plugin rack yet. First identify the symptom you're hearing, because hiss, hum, echo, clipping, and uneven voice level each point to a different fix path.
A one-minute listening pass saves hours later. Bounce the raw file, listen in headphones, then listen again on laptop speakers or another device if you can. Write down the top two problems in plain English, not in plugin language. “Thin voice with room splash” is more useful than “needs enhancement.”
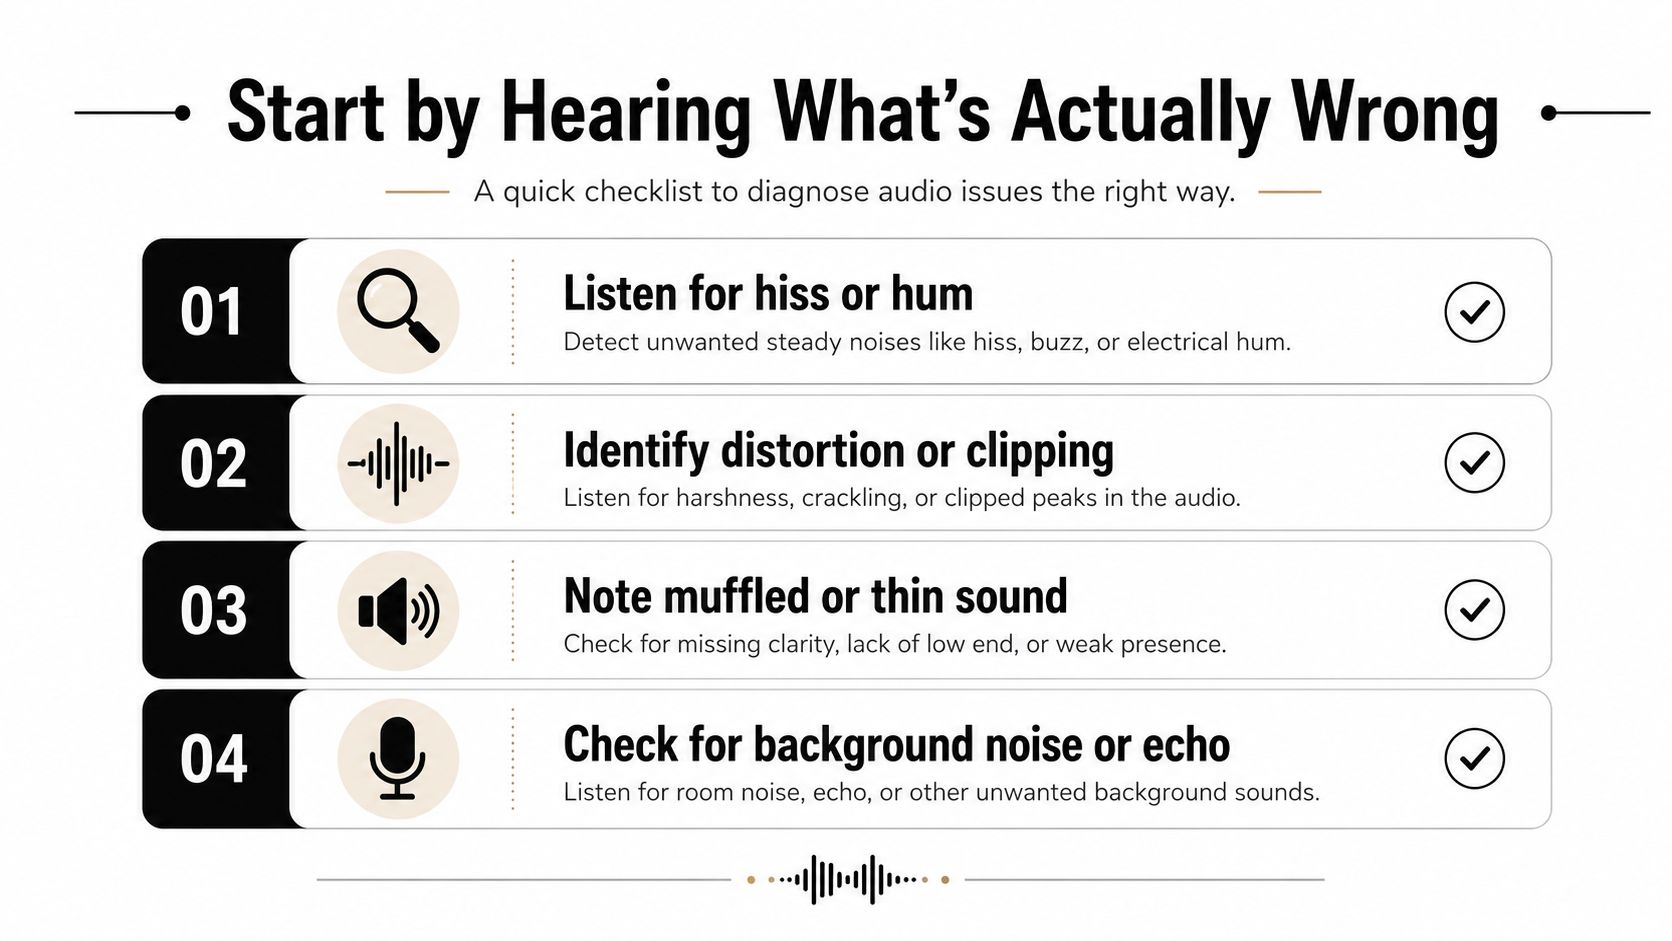
What to listen for first
- Listen for hiss or hum. Hiss usually sits across the top end, while hum often feels lower, steadier, and more electrical.
- Identify distortion or clipping. If peaks sound crunchy or brittle, the problem happened before editing.
- Note muffled or thin sound. Muffled audio often means the mic placement or room is wrong, while thin audio can mean too much cleanup later.
- Check for background noise or echo. A room tone problem is different from a broadband noise problem, and the cure should match the cause.
Practical rule: if you can name the symptom clearly, you can stop guessing and start choosing the right correction.
That diagnosis-first habit matters because intelligibility can fall hard in noise. In one peer-reviewed study of voice users, mean intelligibility dropped from 93.27% in quiet to 68.64% in noise. The same research also showed that speech recognition at −5 dB SNR can vary dramatically by talker, from 22.8% to 78.8%, which is why “bad audio” can be more than a cosmetic issue. The acoustics paper on clear speech reproduction discusses these speech-in-noise and reverberation targets in detail, and it's a useful reminder that the ear is not reacting to a vague quality score, it's reacting to whether speech survives the conditions around it. Speech intelligibility and room-acoustics research
The Five Problems Behind Almost Every Bad Recording
Most rescue jobs collapse into five categories. Once you know which one dominates, the fix becomes much simpler, and you stop overprocessing problems that weren't there in the first place.
The quick diagnosis
| Symptom | Likely Cause | First-Line Fix |
|---|---|---|
| Steady high-end “air” or noise floor | Broadband hiss from gain staging or preamp noise | Gentle denoise, then recheck voice tone |
| Low electrical buzz or buzz-hum | Grounding or power interference | Hum removal or a narrow notch filter |
| Hollow, far-away voice | Room echo or reverb | De-reverb, room treatment, or different mic placement |
| Harsh crackle on loud words | Clipping from hot input | Lower input gain on future takes, avoid trying to “repair” peaks with EQ |
| Voice volume that keeps changing | Inconsistent performance or recording distance | Compression, clip gain, normalization |
Broadband hiss usually tells you the recording chain was too hot somewhere upstream, or the preamp contributed its own noise. Hum points to electrical interference or grounding trouble, and that's why it responds to very different treatment than hiss. Echo or reverb usually means the room itself is the problem, not the microphone.
Clipping is different again. If the waveform is flattened at the top, the damage already happened on the way in. A few tools can soften the result, but no cleanup pass can restore the missing peaks. Uneven levels are the easiest to misunderstand, because the file may be technically clean while still being hard to hear from sentence to sentence.
A useful external reference on room echo prevention is echo prevention for creators. Even if you don't use the same gear or room setup, the logic is familiar, keep the source sound as controlled as possible so you don't ask post-production to perform miracles.
The technical basis for modern cleanup also matters. Speech enhancement research treats noisy audio as speech plus additive noise, then estimates and subtracts the noise spectrum before reconstruction, which is why denoising, hiss removal, and dialogue enhancement all share the same family resemblance. That same line of research ties intelligibility to decibel differences in a very real way, showing how quickly clarity can fall as noise rises. Foundations of speech enhancement and intelligibility
Pre-Processing Checks That Save Everything Downstream
Before any cleanup, get the source file into the safest possible state. The biggest mistake I see is editors trying to “fix” an unsafe recording after the fact, then wondering why every step sounds brittle or phasey.
Start with headroom and a backup
Set input gain so peaks land with room to spare, not right at the edge. If you're recording in a format that supports it, 32-bit float gives you more protection against accidental clipping, but it still doesn't excuse reckless gain. Keep a backup copy of the original before you touch anything.
A few seconds of room tone also helps. It gives you a reference for what the noise floor sounds like, and it helps some denoisers build a cleaner profile. Remove obvious dead air at the very beginning and end only after you've saved the source, not before.
Listen on real playback systems
A recording that sounds acceptable on studio headphones can fall apart on a phone speaker or a laptop. Test on at least two systems before you export the final file, because low-end rumble, de-essing, and noise reduction all behave differently outside the control room. If the voice disappears on one playback path, the file isn't done yet.
The order is simple, save the original, check gain, audition on multiple playback systems, then clean.
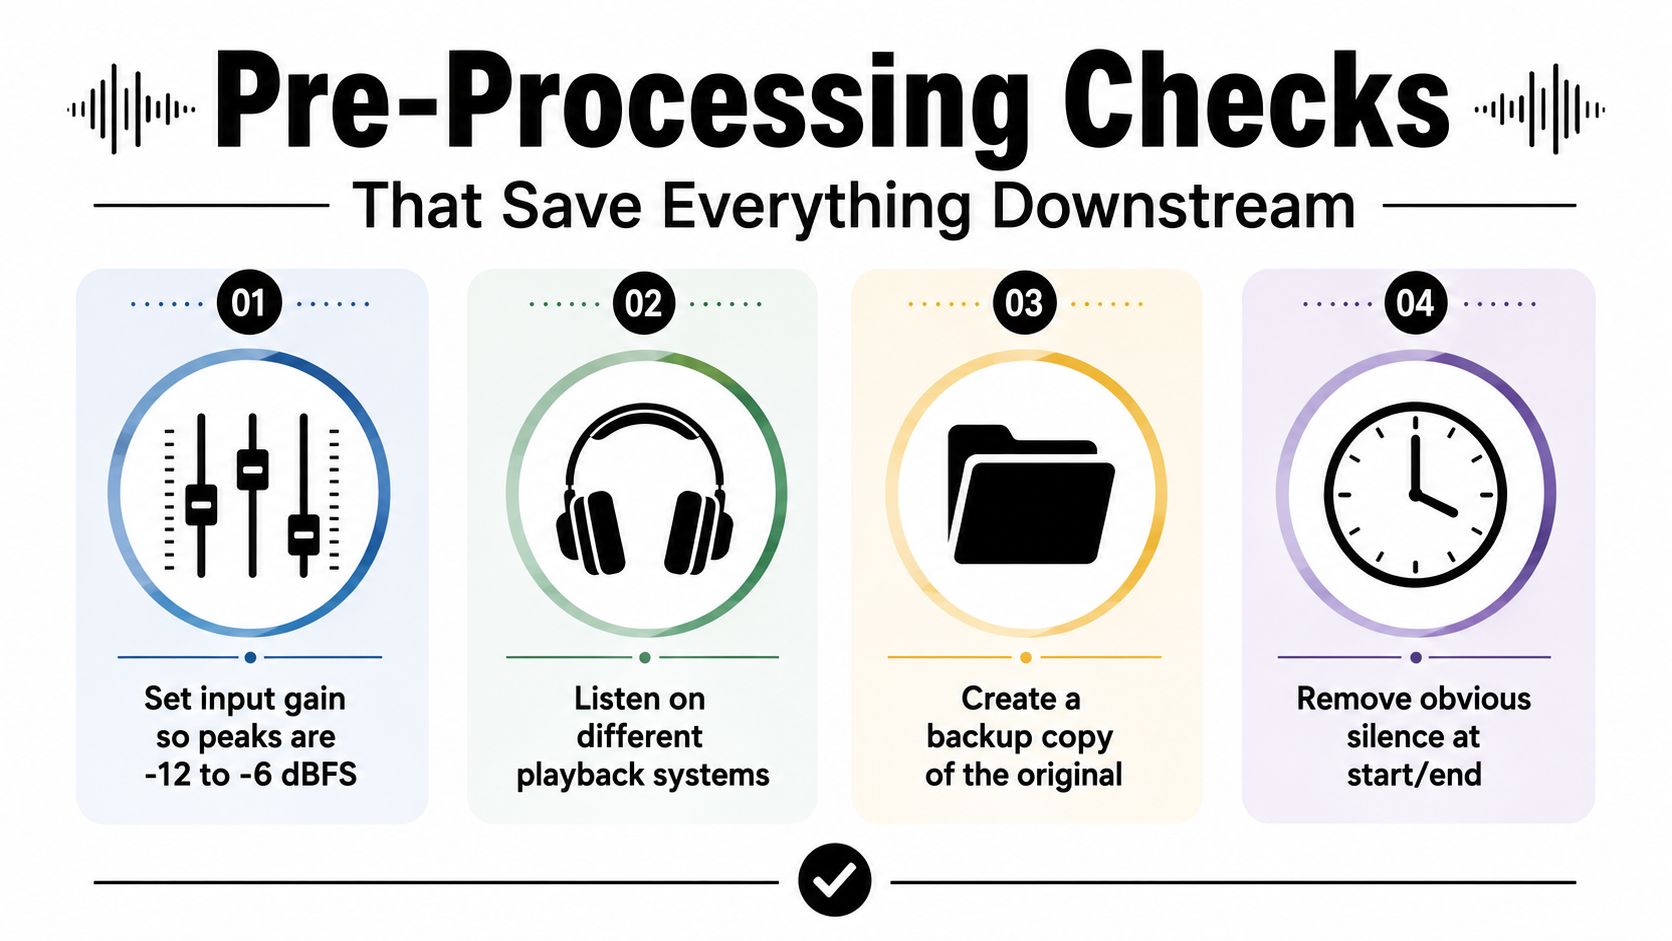
A practical pre-flight checklist keeps the chain from cascading into mistakes:
- Set input gain with headroom. Leave space so the loudest syllables don't slam the converter.
- Save a backup of the raw file. Every aggressive fix is easier to undo when the original is untouched.
- Collect room tone. A short clean sample can help with profiling noise later.
- Remove obvious silence at the edges. This keeps review quicker without altering the core take.
If the original audio is already clipping, don't try to rescue it with EQ. EQ changes tone, not lost waveform peaks. For clipped material, the most honest fix is usually damage control, then a better recording path next time.
The Right Order of Operations for Cleanup
The order matters because every plugin changes what the next plugin hears. If you denoise after EQ, or normalize before you've handled noise, you can end up locking in artifacts and making them harder to undo.
Put destructive work first
Start with spectral noise reduction or AI denoise. That step lowers the broad noise bed before you sculpt tone, and it gives the rest of the chain a cleaner signal to work with. If hum is obvious, follow with a narrow notch filter or dedicated hum removal so you target the interference without stripping useful voice content.
Then move to gentle de-essing if sibilance is harsh. After that, use surgical EQ to correct voice color, not to invent clarity that the recording never had. If the performance jumps around in level, add compression or expansion only as much as the voice needs.
Leave loudness for the end
De-reverb belongs later in the chain, after you've already reduced the noise that makes a room sound worse than it is. Then finish with normalization or limiting to hit the intended delivery level. If you normalize too early, every later boost or cut changes the final loudness again, which creates avoidable back-and-forth.
A simple rule helps:
Clean first, shape second, level last.
Speech-processing research has long shown why this sequence works. The goal isn't just to make the waveform quieter, it's to preserve the speech cues that carry meaning. Intelligibility thresholds are often measured at specific SNR values in room-acoustics work, which is another reason a cleanup chain should protect speech prominence before it chases polish. Speech enhancement framework and intelligibility thresholds
If the file is roomy rather than noisy, treat de-reverb as a corrective step, not a beauty filter. If the source is extremely damaged, a single pass may not be enough, but don't stack aggressive passes blindly. The first good result is usually the one that stops the chain, not the one that keeps going.
When AI Cleanup and Stem Separation Beat Manual Chains
Manual cleanup chains are precise, but they take time and they assume you already know which knob to turn next. AI cleanup tools are useful when the problem is broad, the deadline is real, and the source material is messy enough that you need a fast first pass.
ClearAudio sits in that category. It's a browser-based workflow where you upload a file, choose what to keep, such as speech, dialogue, vocals, or music, and let the system separate unwanted content from the part you need. That makes sense for field recordings, interview salvage, dialogue isolation for video, and stem separation when you want to extract a vocal or music bed for a remix.
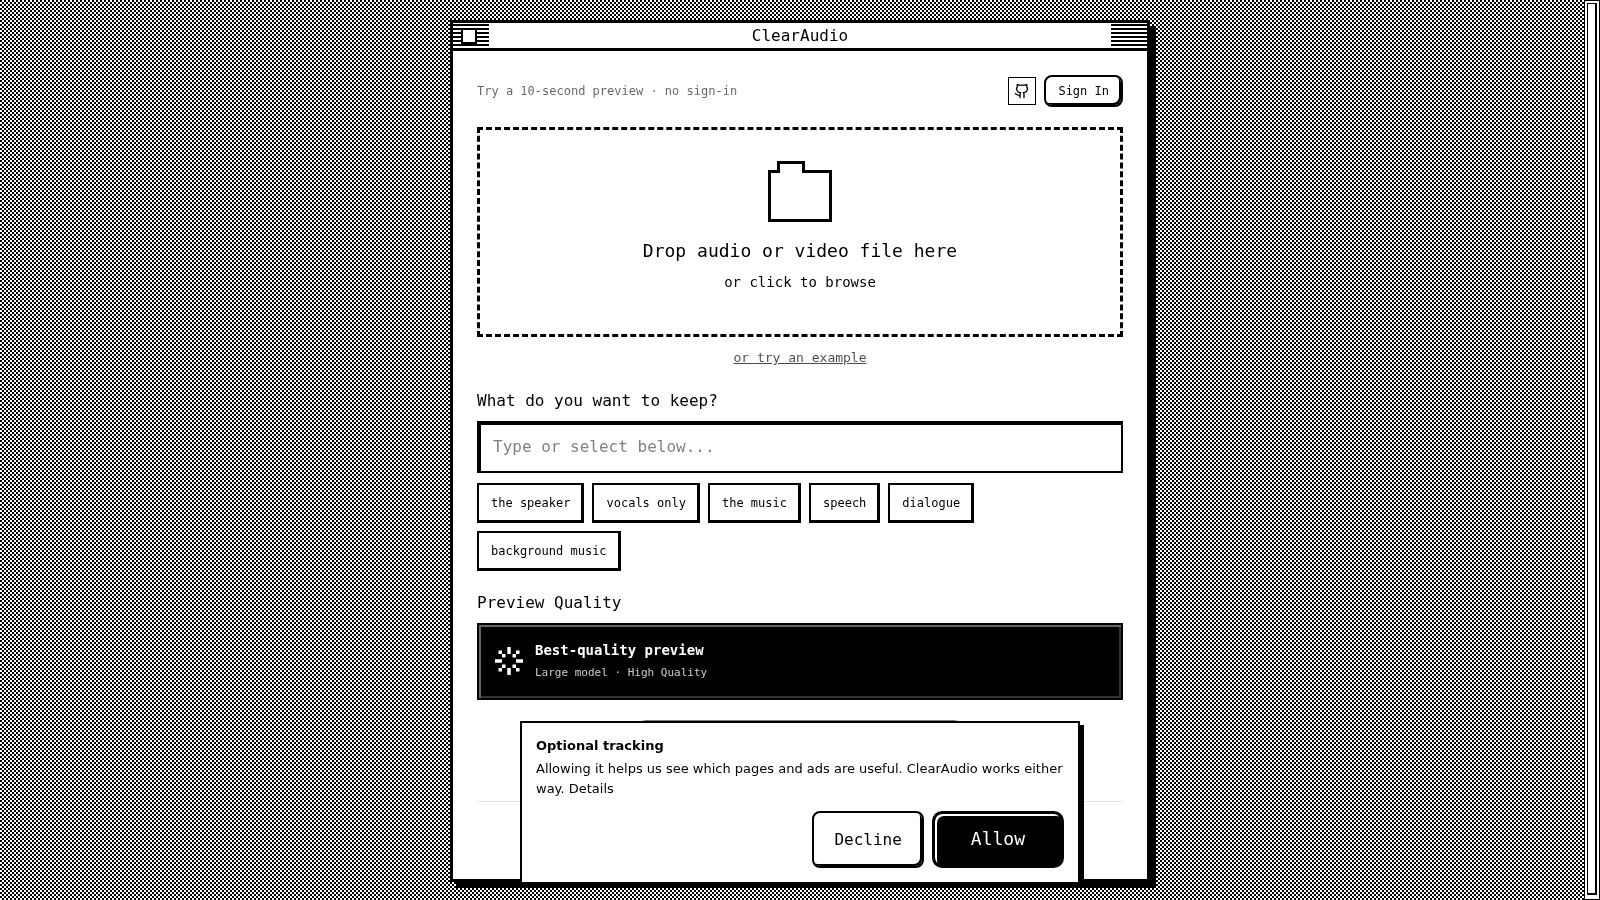
The quality modes also matter. Small is built for quick previews, Base for balanced work, and PRO Large plus PRO Large-TV for heavier-duty cleanup, including video-oriented projects. That tiered setup is useful because not every file needs the same processing depth, and previewing a change before you commit can save you from overworking a good take.
Manual chains still win in a few places. They're better when you need sample-accurate editing, when music production depends on fine control, or when the file has overlapping problems that require surgical intervention at several points. They also help when you want to compare each stage one at a time, instead of trusting a single automated pass.
For teams that need transcription as much as listening quality, the trade-off gets sharper. A secure dictation for healthcare workflow shows why speech clarity and transcription accuracy are related but not identical goals. Cleanup that sounds better isn't automatically better for the transcript, so the right tool is the one that matches the downstream task, not the one with the nicest demo.
You can also think of AI cleanup as a shortcut to the first 80% of the job. It's strongest when the input is cluttered, the goal is speech isolation, and you need usable audio fast. It's weaker when you need to preserve every tiny nuance for mastering, restoration, or legal-grade archival work.
Export Settings, Loudness, and Final Delivery
The cleanup isn't finished until the exported file survives real playback. A file that sounds good in the editor can still fail on a phone, in a car, or through a TV speaker if the loudness, codec, or sample rate is off.
Match the format to the destination
Use WAV when you need archival quality or a handoff to another editor. Use a high-bitrate MP3 or AAC when distribution matters more than keeping a pristine master copy. For video, 48 kHz is the safer sample rate because it aligns cleanly with common production pipelines.
Loudness targets also depend on where the file will live. Podcasts often aim around -16 LUFS, YouTube around -14 LUFS, broadcast around -23 LUFS, and music streaming around -18 LUFS. A true-peak ceiling around -1 dBTP helps avoid distortion on consumer playback systems.
Do a final sanity pass
Listen once on headphones and once on speakers after export. That pass catches clipped tails, exaggerated sibilance, and noise reduction artifacts that seemed invisible inside the timeline. If you hear pumping or a watery top end, the file probably got pushed too hard upstream.
A final archive habit saves future edits:
- Name the version clearly. Include the date or revision marker so you can find the right export later.
- Keep the original untouched. That gives you a clean fallback if the edit doesn't hold up.
- Store the final and the source together. Revision control matters when someone asks for a different cut later.
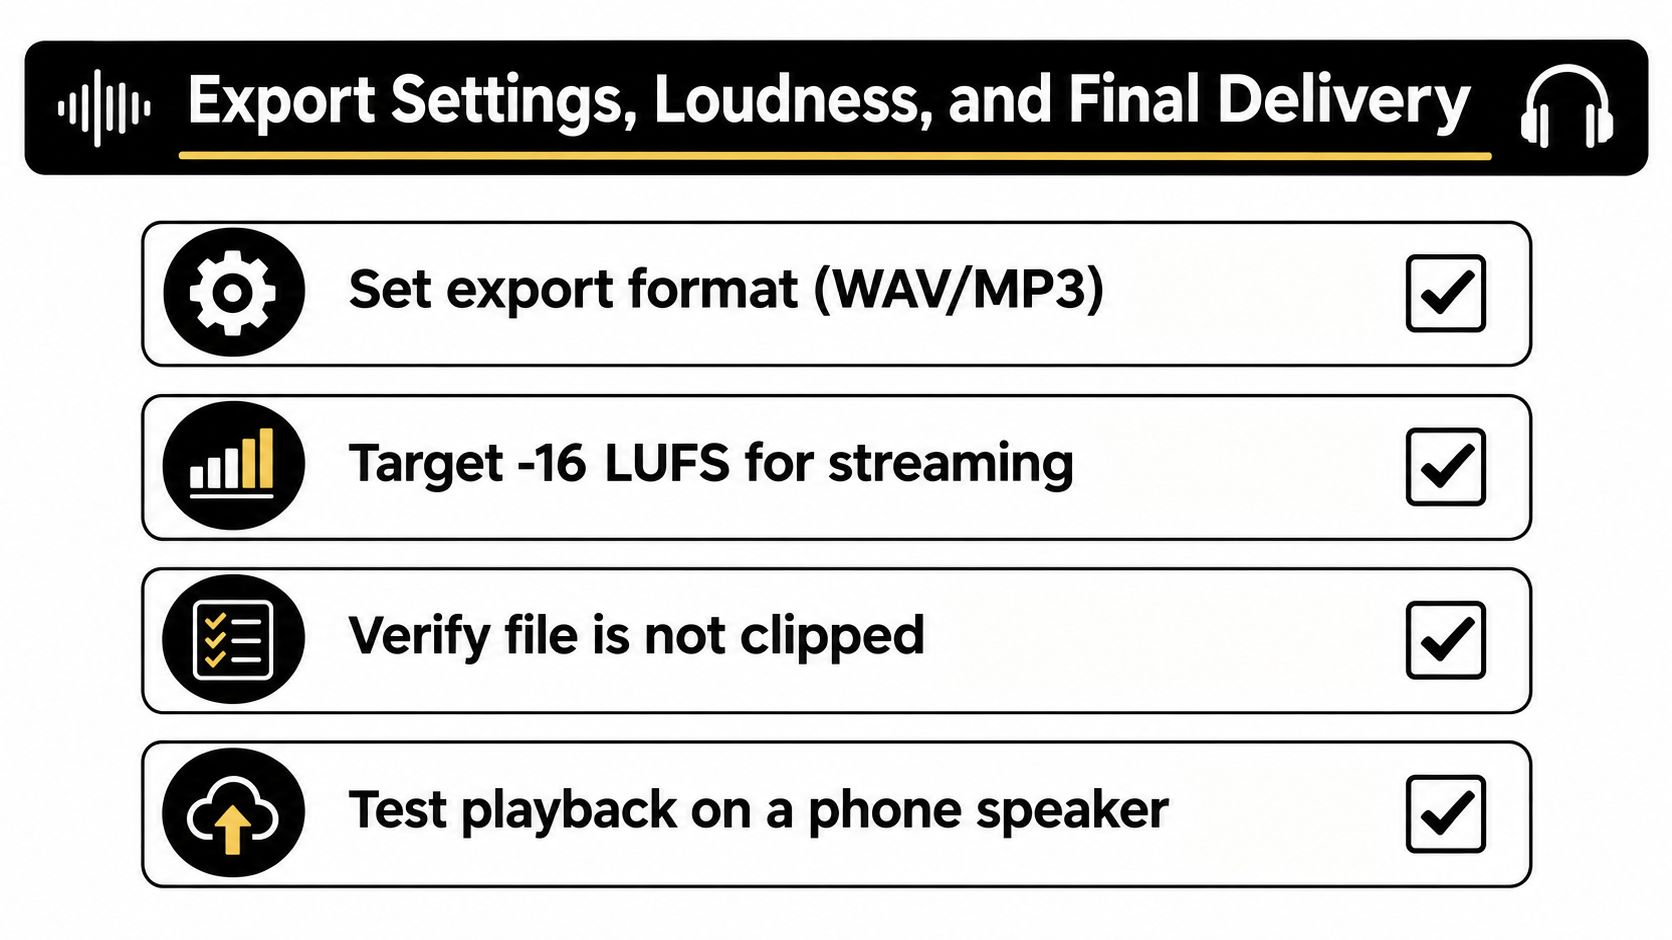
Export is insurance. It's where you prove the cleanup actually translates outside your headphones.
When Cleanup Backfires and How to Catch It
The biggest mistake in cleanup is assuming that less noise always means better audio. That's not true for every listener or every downstream task.
A 2025 to 2026 systematic study on medical speech found that enhanced audio produced worse ASR than the original noisy audio in all 40 tested configurations, with semWER worsening by 1.1% to 46.6% absolute after denoising. In other words, a prettier file can become a worse transcript if preprocessing strips out cues the model needed. Systematic ASR study on denoised medical speech
Listener type matters too. A 2026 study on low-latency deep-learning noise reduction found that normal-hearing listeners experienced a statistically significant deterioration after noise reduction, while hearing-impaired listeners and cochlear implant users improved by 0.8 dB and 5.7 dB in speech reception threshold, respectively. Listener-specific effects of noise reduction
That leads to the rule I use most often:
If the file is for listening, captions, search, or both, test the cleaned version against the actual task before you commit.
Warning signs of overprocessing are easy to hear once you know them. The voice starts to sound watery, the room goes unnaturally dead, consonants smear, or the transcript gets worse even though the audio sounds “cleaner.” When that happens, roll back to the last good stage and back off the most aggressive step first.
The best cleanup workflow is not the one that removes the most noise. It's the one that leaves speech understandable, natural, and useful for the job the recording has to do.
If you're cleaning interviews, podcasts, lectures, or call audio regularly, use a tool that lets you separate speech, music, echo, and noise without forcing every file through the same preset. ClearAudio is built for that kind of workflow, and it fits the decision logic in this article better than a one-button fix. Try it on a problem file, compare the result against your original, and keep the version that sounds right on the device your audience uses.