You're staring at a voice memo that should've been simple, but the room fan, laptop hiss, and low hum keep sitting under every sentence. That's exactly where Audacity helps, but the trick isn't just pressing Noise Reduction, it's deciding how clean the file can get before speech starts to sound thin or robotic. If you're working on how to remove background noise with Audacity, the safest path is a careful cleanup workflow that protects the voice first and the noise floor second.
Table of Contents
- Preparing the Recording for Cleaner Audio
- Capturing a Reliable Noise Profile
- Applying Noise Reduction Without Damaging Speech
- Choosing the Right Complementary Audacity Tools
- Starting Settings for Common Noise Problems
- Troubleshooting Artifacts and Recovering Bad Edits
- Checking, Exporting, and Choosing AI Cleanup
Preparing the Recording for Cleaner Audio
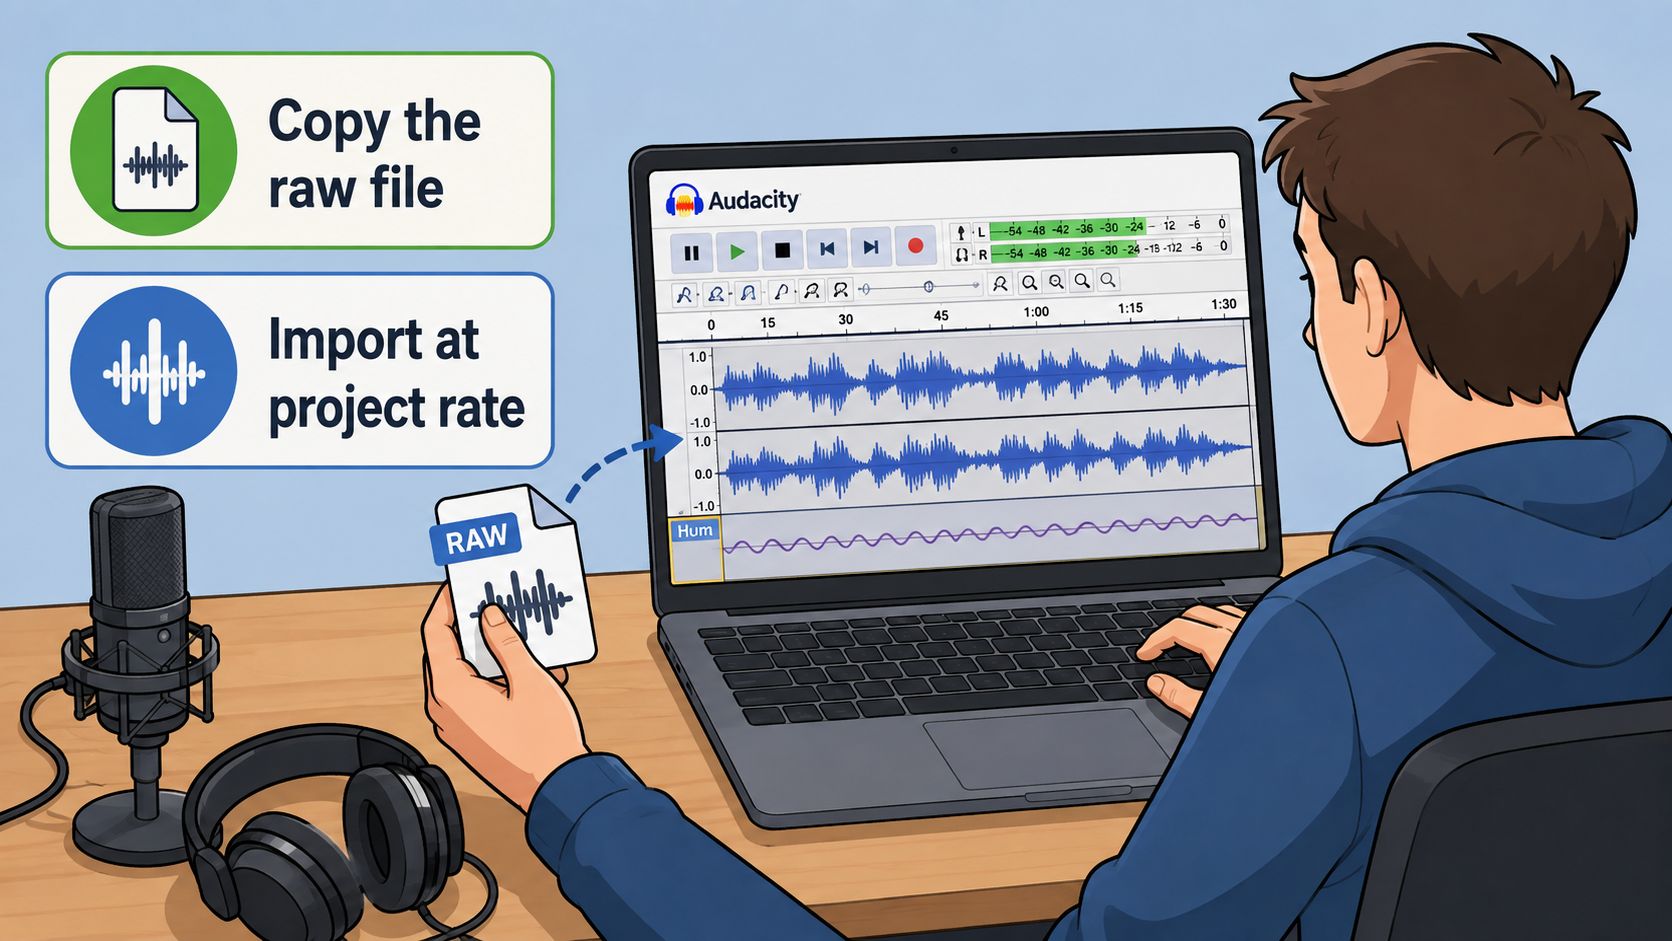
A rough recording usually tells on itself before any effect gets applied. The waveform shows the problem, steady low-level noise between phrases, then sharper peaks where the actual speech lives, and that visual split is what makes the cleanup easier to control.
The first move is simple. Copy the raw file, import it into Audacity, and save the project under a new name so the original stays untouched for comparison. Then match the project rate to the source file, because editing against the wrong project rate makes later checks harder to trust. If the recording is dense with room tone, duplicate the track and use the duplicate as your working copy while keeping the original as a reference.
A useful habit is to reduce the working track gently before you do anything aggressive. I like to leave a little headroom, often in the 2 to 4 dB range, so peaks aren't crowding the edit while I inspect the noise floor and speech balance. Zoom in enough to see where the unwanted noise stays below the speech peaks, because that tells you whether the problem is broad, steady noise or something that needs a different repair tool.
Practical rule: if the raw file already has clipped peaks or severe distortion, noise reduction won't save it. Clean the file only after you've protected the original copy.
Capturing a Reliable Noise Profile
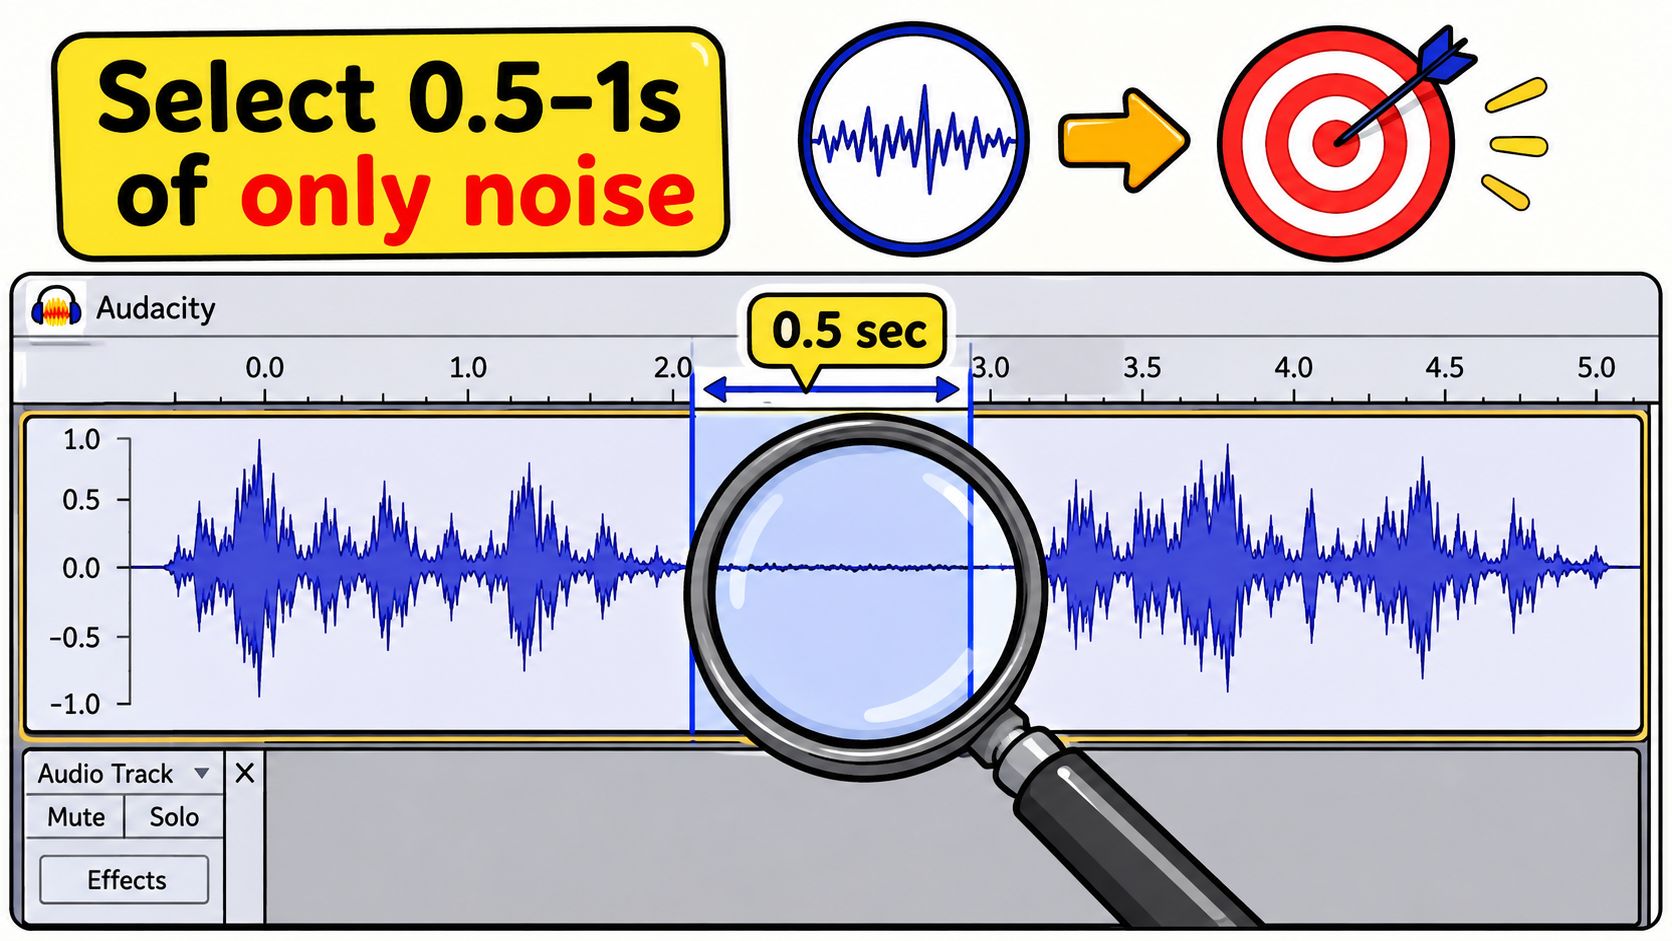
Audacity's cleanup works best when the profile comes from pure unwanted sound, not a mixed passage where speech leaks in. Look for a quiet gap at the head, tail, or between phrases, then check that gap both visually and by ear before you commit to it.
Select a short stretch that contains only the noise you want to remove, then go to Effect, Noise Reduction, Get Noise Profile. Audacity closes the dialog after it captures the sample, which is your cue to pause and inspect the recording instead of applying the effect immediately. If the sample includes breaths, plosives, or a reverb tail, the profile can treat those as noise. That is how dialogue ends up sounding dull or chopped.
A profile from one part of a file does not always fit another part. A laptop fan in a quiet room behaves differently from passing street noise, so if the room tone changes, recapture the profile from a section that matches the audio you are cleaning. Basic guides often skip that step, but it is what keeps the workflow reliable.
The best profile is boring. If you can hear character in the sample, you probably captured too much of the voice or room.
Audacity captures the noise profile from a quiet gap using Effect > Noise Reduction > Get Noise Profile, a two-step workflow the help docs describe explicitly. That profile does not carry over after Audacity closes, so each new session needs a fresh sample from the file you are editing.
Here's the YouTube walkthrough that matches the same capture-and-apply rhythm inside Audacity.
Applying Noise Reduction Without Damaging Speech
A recording can sound impressively clean and still fail as dialogue. Pushing Noise Reduction until the hiss vanishes often makes consonants watery, metallic, or hollow, because the effect begins removing speech detail along with the background.
Reopen Effect, Noise Reduction after capturing the profile. The main controls are Noise Reduction, Sensitivity, and Frequency Smoothing. Start gently and preview a short selection before processing the full track. For many voice recordings, Sensitivity around 6 and Frequency Smoothing around 3 provide reasonable starting points. Keep the reduction amount conservative unless the noise clearly distracts from the words.
Preview a phrase containing both sustained vowels and sharp consonants. Those sounds expose artifacts quickly. A cleaner but duller result needs less processing. If the background remains noticeable while the voice stays natural, the setting is closer to the useful range. Apply the effect to the complete recording only after that check, and keep Undo available.
Use duplicate tracks when the recording matters. Two cautious passes let you compare results and recover detail more safely than one aggressive pass on the only copy. If the voice becomes thin, lispy, or hollow, undo the change and reduce the amount or sensitivity before trying again.
Audacity's history is available while the project remains open. Use Ctrl+Z or Command+Z to reverse the edit, but closing the project removes that recovery path. Save an earlier backup before committing to a result you may need to revisit.
The trade-off between clean and natural is explained in noise reduction explained: the profile guides what Audacity pulls down, and pushing beyond that boundary can make dialogue sound processed. Noise removal should support intelligibility, not create silence at the cost of the speaker's character.
Practical rule: if the voice sounds quieter but not clearer, stop lowering noise. Clarity and silence are different goals.
Choosing the Right Complementary Audacity Tools
Noise Reduction is only one part of cleanup. If the recording has rumble, electrical hum, or isolated clicks, stacking more of the same effect usually wastes time and can damage the voice. The better approach is to match the tool to the symptom, then leave the rest alone.
A low-frequency rumble often responds better to High Pass filtering or EQ than to stronger noise reduction. Narrow electrical hum sits in a different lane, so a Notch filter aimed at the problem frequency and its harmonics can do what Noise Reduction can't. Once the broad noise is under control, Compression and Normalize help you smooth out levels and set a usable output, while Spectral Delete is a surgical fix for one-off clicks, mobile bursts, and mouth noises that don't belong in the profile at all.
| Tool | Best For | Apply |
|---|---|---|
| Noise Reduction | Broad hiss, steady room tone, and general background noise | After capturing a clean noise profile |
| High Pass Filter | Rumble and low-frequency buildup | Before or after noise reduction, depending on how obvious the rumble is |
| Notch Filter | Electrical hum and its harmonics | When the hum sits on a specific frequency |
| Equalization | Taming resonances and restoring lost warmth | After cleanup, once the voice sounds too thin |
| Compression | Uneven speech levels that become obvious after cleanup | After noise removal and before final level setting |
| Normalize | Consistent peak management before export | Near the end of the chain |
| Spectral Delete | Isolated clicks, bursts, and small contaminations | When the problem is local, not across the whole file |
| De-clip or Click Removal | Distortion and plosives | Before final mastering, when those artifacts are the main issue |
One useful rule is to keep each tool narrow in purpose. If the track needs low-end cleanup, use a filter. If it needs general hiss reduction, use the noise profile. If the dialogue still feels uneven after the noise is gone, level it afterward instead of forcing the reduction stage to do every job.
Starting Settings for Common Noise Problems
The biggest mistake with Audacity is treating one set of settings as a universal fix. The right starting point depends on whether you're dealing with steady hum, fan noise, tape hiss, or a recording that already leans fragile. Heavy cleanup can make speech sound hollow fast, so the goal is a compromise that removes the distraction without exposing artifacts.
A simple decision tree helps. Start by identifying the dominant noise, then choose the gentlest settings that still move the file in the right direction. If the recording has low-frequency rumble, pair the cleanup with an 80 Hz high-pass filter. If you hear electrical hum, add a narrow notch at 50 Hz or 60 Hz and let the reduction stage handle the leftover broadband noise. If the voice has already lost warmth, restore a little body with gentle equalization after the reduction pass.
| Noise Type | Reduction (dB) | Sensitivity (dB) | Smoothing | Pair With |
|---|---|---|---|---|
| Steady HVAC hum | 12 | 6 | 3 | High-pass filter for rumble |
| Loud fan or room tone | 9 | 6 | 3 to 6 | Gentle EQ after cleanup |
| High-frequency hiss | 15 to 18 | 3 | Lower smoothing | Light high-pass only if rumble also exists |
| Electrical hum | 6 to 12 | 6 | 3 | Narrow notch at 50 Hz or 60 Hz |
Those values are starting points, not targets. I'd rather test them on a short phrase than let a full interview commit to settings that were never right for the room. If the first pass cleans the noise but thins the voice too much, lower the reduction or smooth less. If the noise barely moves, adjust in smaller steps instead of jumping straight to a harsher setting.
For comparison, the current support pages for Audacity's noise workflow and the project-history guidance make it clear that this is still a core editing tool, not a one-click restoration engine. That's why a measured setup beats a dramatic one, especially on dialogue.
Troubleshooting Artifacts and Recovering Bad Edits
The classic failure mode is easy to hear once you know what to listen for. Watery or robotic speech usually means the reduction is too strong. Metallic ringing points to sensitivity being too aggressive. Muffled voice often means too much smoothing, while pumping or breathing artifacts can appear when the cleanup starts acting too much like a gate instead of a careful filter.
If you catch the problem right away, use Undo immediately. If the project is still open, Audacity's history lets you compare checkpoints, which is why I always keep a duplicate project file before a major pass. If the edit has already been closed and reopened, the project history is gone, so recovery means going back to an earlier backup rather than hoping the current file can be reversed.
There are a few practical ways to rescue a damaged file without starting over. Re-capture the noise profile from a cleaner stretch, rerun the reduction with gentler settings, or blend the cleaned section back into the original with a crossfade if only part of the file was over-processed. Spectral Delete can also help when the artifact is isolated, because it removes the bad spot without forcing the whole track through another full pass.
Diagnostic shortcut: if the speech got worse after cleanup, don't keep reducing the noise. Fix the profile, lower the settings, or change tools.
A good checklist is simple. Listen for metallic edges first, then hollow tone, then obvious pumping. Each symptom points to a different correction, and that's far more reliable than guessing from the waveform alone.
Checking, Exporting, and Choosing AI Cleanup
The final pass is about intelligibility, not just lower noise. Compare the cleaned track against the original at matched volume, and scrub through silences, sibilants, and consonant attacks where artifacts like to hide. A voice that sounds fine in the middle of a sentence can still fall apart on sharp consonants or soft breaths, so test those transitions before you export.
If peak levels are getting too hot, use Amplify or Limiter to bring them under control, but don't force Normalize if the room tone still shifts around a lot. For archiving and later editing, 16-bit 44.1 kHz WAV keeps things stable. For podcast delivery, MP3 at 128 to 192 kbps is a practical export choice. If you need lossless sharing, FLAC keeps the cleaned file intact without the baggage of an uncompressed master.
When residual hiss, musical noise, or overlapping voices remain after a careful pass, a browser-based AI cleanup can be the smarter route. Audacity is still strong for surgical edits and predictable cleanup, but it depends on static profiles and manual judgment, which can hit a wall on damaged dialogue. If you also need a transcript workflow after cleanup, creating a podcast transcript is a useful next step when the goal is both clarity and searchable speech.
ClearAudio is one browser-based option that takes uploaded audio or video, lets you choose what to keep, and cleans noise, hum, hiss, and echo with a prompt-driven workflow. That kind of tool fits best when the recording needs more selective restoration than a static noise profile can deliver.
If you want cleaner speech without losing the character of the original recording, try a file in ClearAudio after your Audacity pass and compare the result against your manual edit. It's a practical way to see whether your track needs one more surgical cleanup step or a more selective browser-based repair workflow.