You've just finished a strong interview in a busy café. The guest gave you exactly the answers you needed, but the recording contains clattering cups, overlapping conversations, HVAC rumble, and an espresso machine that seems to start every time the speaker makes an important point. A reshoot isn't realistic, so the question becomes practical: can you isolate dialogue from video without making the speaker sound hollow, metallic, or detached from the scene?
Good dialogue cleanup isn't the same as removing every sound around a voice. The useful target is speech that's clear enough to understand, natural enough to trust, and consistent enough to sit in the finished mix. That means accepting some room tone when removing it would damage the voice, and knowing when a noisy recording needs editorial compromise rather than another aggressive processing pass.
Table of Contents
- Why Dialogue Isolation Matters for Modern Creators
- Preparing Your Video File for Audio Extraction
- Running the Dialogue Isolation Workflow
- Understanding What the AI Can and Cannot Fix
- Choosing the Right Quality Mode for Your Project
- Troubleshooting Common Isolation Problems
Why Dialogue Isolation Matters for Modern Creators
A field recording rarely contains only one problem. Background chatter may overlap the same frequencies as the interview subject. A refrigerator hum can sit beneath every phrase. Reverberation can smear consonants across the room, while compression from a camera or phone can exaggerate harshness and pumping. Dialogue isolation has to separate those elements without removing the vocal character that makes the person sound present.
That distinction matters for documentary filmmakers, journalists, YouTubers, podcasters, and editors repurposing video. If the audience struggles to follow the words, strong images and thoughtful editing won't rescue the scene. At the same time, a voice processed until it sounds like it came from a sealed booth can feel more distracting than moderate background noise.
Practical rule: Aim for intelligibility first, not silence.
Modern audio-visual separation grew from research that connected what a speaker's mouth is doing with what the microphone hears. A landmark method submitted in August 2017 and revised in February 2018 used silent video frames and lip motion to estimate a target speaker's speech, then filter noisy audio. The researchers reported improvements in source-to-distortion ratio and perceptual quality compared with audio-only baselines, as documented in this Acta Acustica overview of audio-visual speech enhancement.
That history explains why video can sometimes help recover dialogue that ordinary noise reduction can't. When the face is visible and synchronized with the voice, the image gives the model another clue. When the face is blocked, off-screen, or surrounded by multiple speakers, that advantage becomes less dependable.
A useful review step is to assess whether the cleaned passage communicates the intended message. Tools that help you analyze dialogue with Ivory Mind can support that editorial check, especially when you're deciding whether a passage is understandable enough for its audience rather than merely cleaner in isolation.
Preparing Your Video File for Audio Extraction
The isolation model can only work with the signal you provide. Before uploading anything, create the cleanest practical source file and preserve the original camera media separately. Don't repeatedly export a compressed video, extract its audio, process it, and then compress it again. Each conversion gives you less information to work with.
Start with the best available source
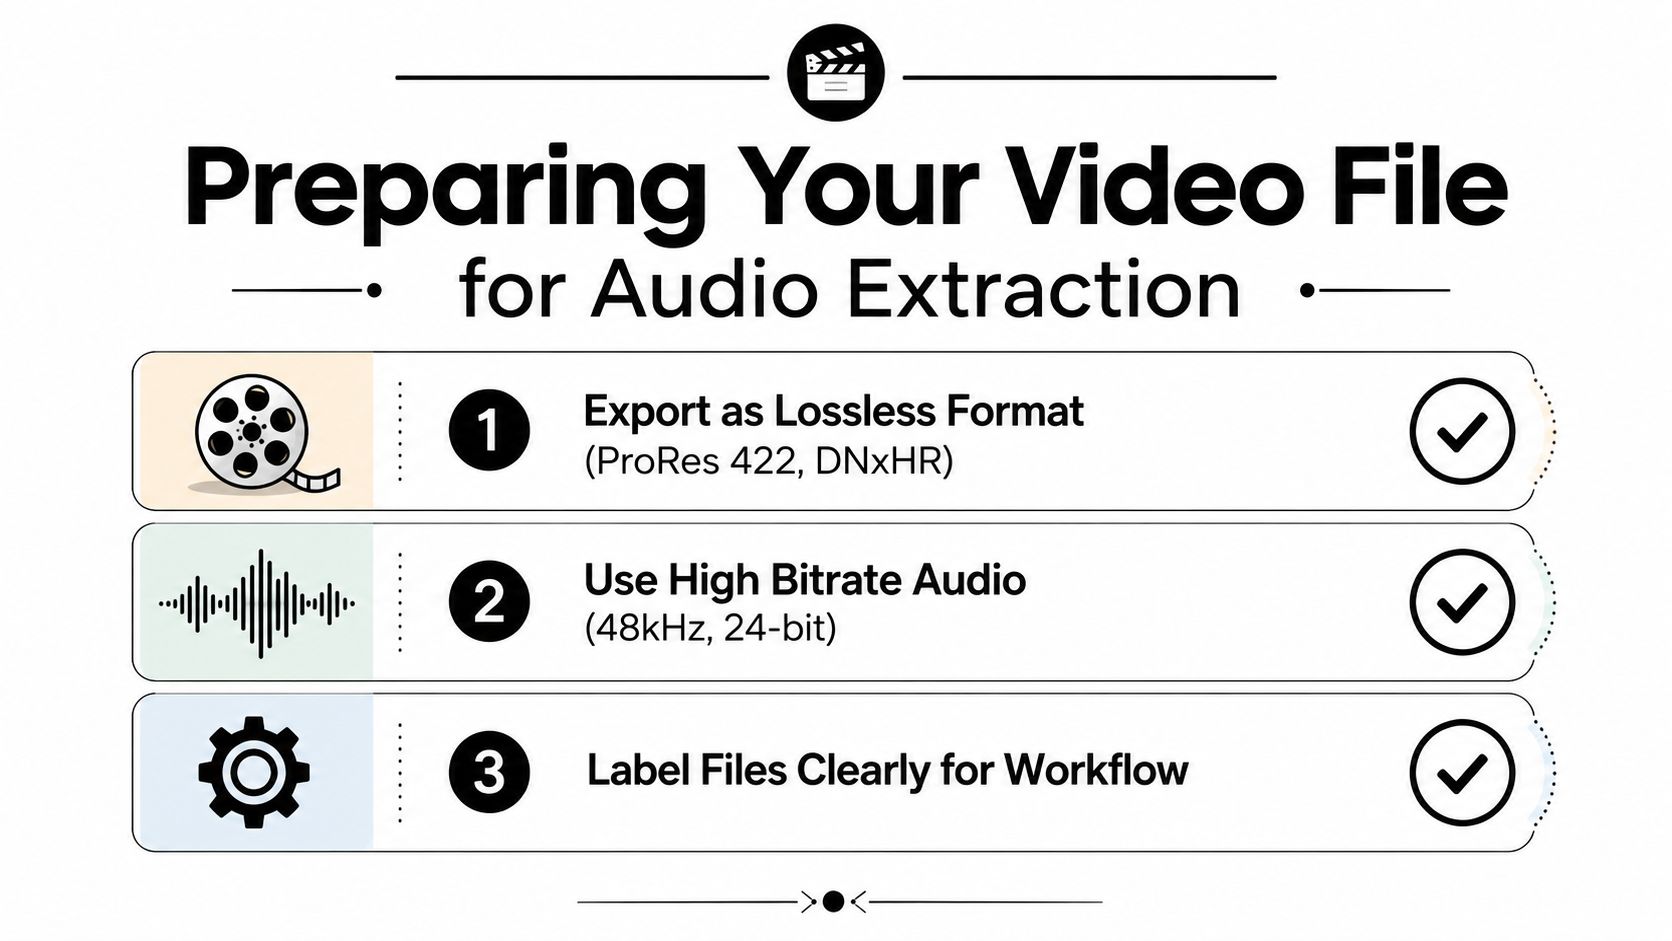
If your editor supports it, export the picture as ProRes 422 or DNxHR and keep the audio as uncompressed PCM. For post-production dialogue, 48 kHz and 24-bit audio are sensible minimum targets because they preserve enough detail for EQ, restoration, and later mixing. The video codec matters less to the separation model than the audio stream, but a high-quality picture export keeps the entire round trip manageable.
If the only source is an MP4, don't panic. Extract its audio through your NLE or FFmpeg, then work from that extracted file rather than repeatedly processing the video container. You can't restore information that the original compression removed, but you can avoid adding another unnecessary generation of loss.
Inspect the track before processing
Listen to the left and right channels independently. A stereo camera recording may contain a boom on one channel and a lavalier on the other, or dialogue may sit in the center while ambience spreads across the sides. If the target voice is clearly center-panned, a mid-side or mono check can reveal whether the sides contain useful room information or mostly interference.
Keep the working level healthy without clipping. Dialogue that peaks around -12 dB to -6 dB gives the processor a practical signal level, based on the workflow guidance in the brief. If the file is extremely quiet, raise it conservatively before processing, but don't normalize clipped material and expect missing peaks to return.
Finally, cut the source to the passages you need. A long interview often contains silence, camera movement, and irrelevant sections. Short test segments make comparison easier and reduce the chance that a single difficult passage determines the settings for everything else. Name the extracted files clearly, keep the untouched original, and note which channel or microphone produced the best result.
Running the Dialogue Isolation Workflow
The safest workflow starts with a short test, not a full interview. Export a representative passage containing the actual problems you need to solve, including background noise, pauses, overlapping speech, and the speaker's loudest phrases. A clean opening alone won't tell you whether the processor will damage sibilants or consonants later.
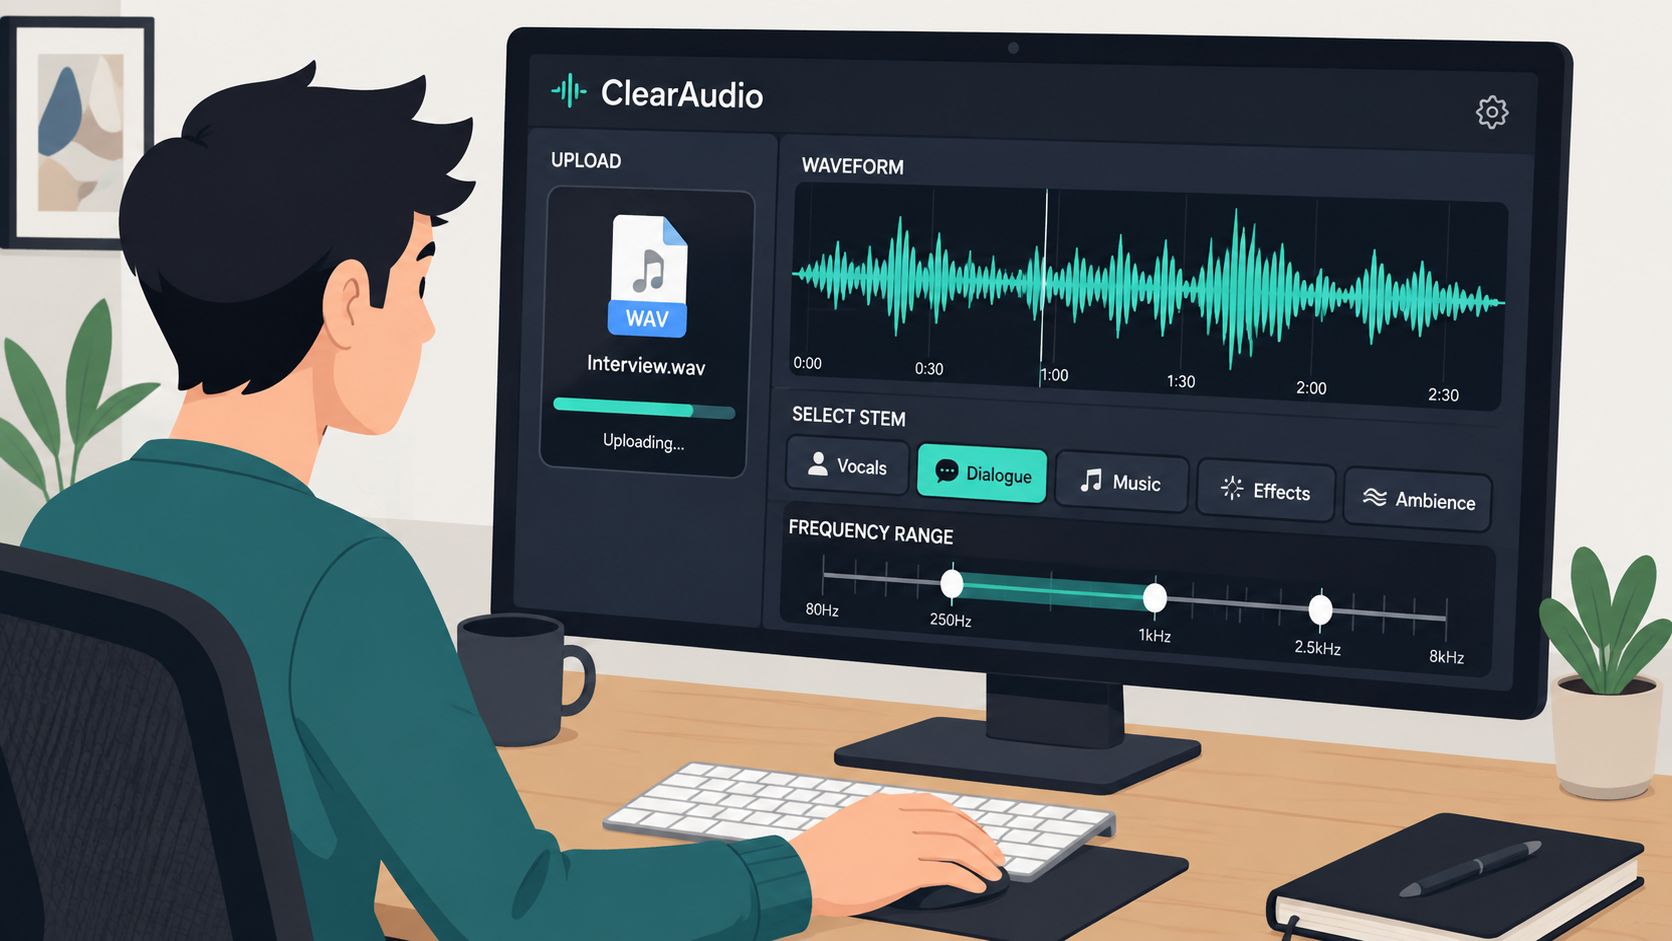
In a browser-based workflow, upload the prepared audio or video, identify dialogue as the target, and describe what should remain. ClearAudio is one option that lets users upload media and specify targets such as dialogue or speech, with quality modes intended for different processing demands. If you use a prompt-based tool, be specific about the sound you want, for example, “single close-mic speaker in an indoor room with light background chatter.” The description should identify the target, not demand an impossible result.
Make the first pass conservative
Choose a balanced quality setting for the initial test. Aggressive separation can suppress more interference, but it also has a greater chance of thinning the voice, softening high-frequency consonants, or producing watery movement in sustained vowels. If music or another speaker dominates the recording, a stronger setting may be necessary, but treat it as a rescue pass rather than a default.
Export the result as WAV at the same 48 kHz, 24-bit working resolution when the tool supports it. That gives you room for further EQ, de-essing, level automation, and editorial mixing. Don't judge the isolated stem only in solo. Listen with the intended music, ambience, and effects underneath it, because a trace of room tone may disappear naturally once the scene is rebuilt.
Preserving some ambience can help documentary dialogue feel connected to the location. A perfectly dry stem may sound like the speaker was recorded elsewhere, especially when the image shows a large room or an active street. If the processor offers room-tone preservation, use it cautiously and compare the bypassed, processed, and reintroduced versions.
The research workflow behind Google's AVSpeech work illustrates why synchronization matters. The training set contained about 4,700 hours of web video with visible speakers and clean speech, and the audio-only baseline on CHiME-2 reached 14.6 dB SNR, close to the then-state-of-the-art 14.75 dB single-channel result, as described in Google's audio-visual speech separation research. The lesson for editors is simple: video helps most when the face, mouth movement, and audio line up.
After the test, compare words at the beginning and end of phrases, not just the overall noise floor. If the voice is clearer but less human, reduce the strength or blend the isolated result with a small amount of the original track.
Understanding What the AI Can and Cannot Fix
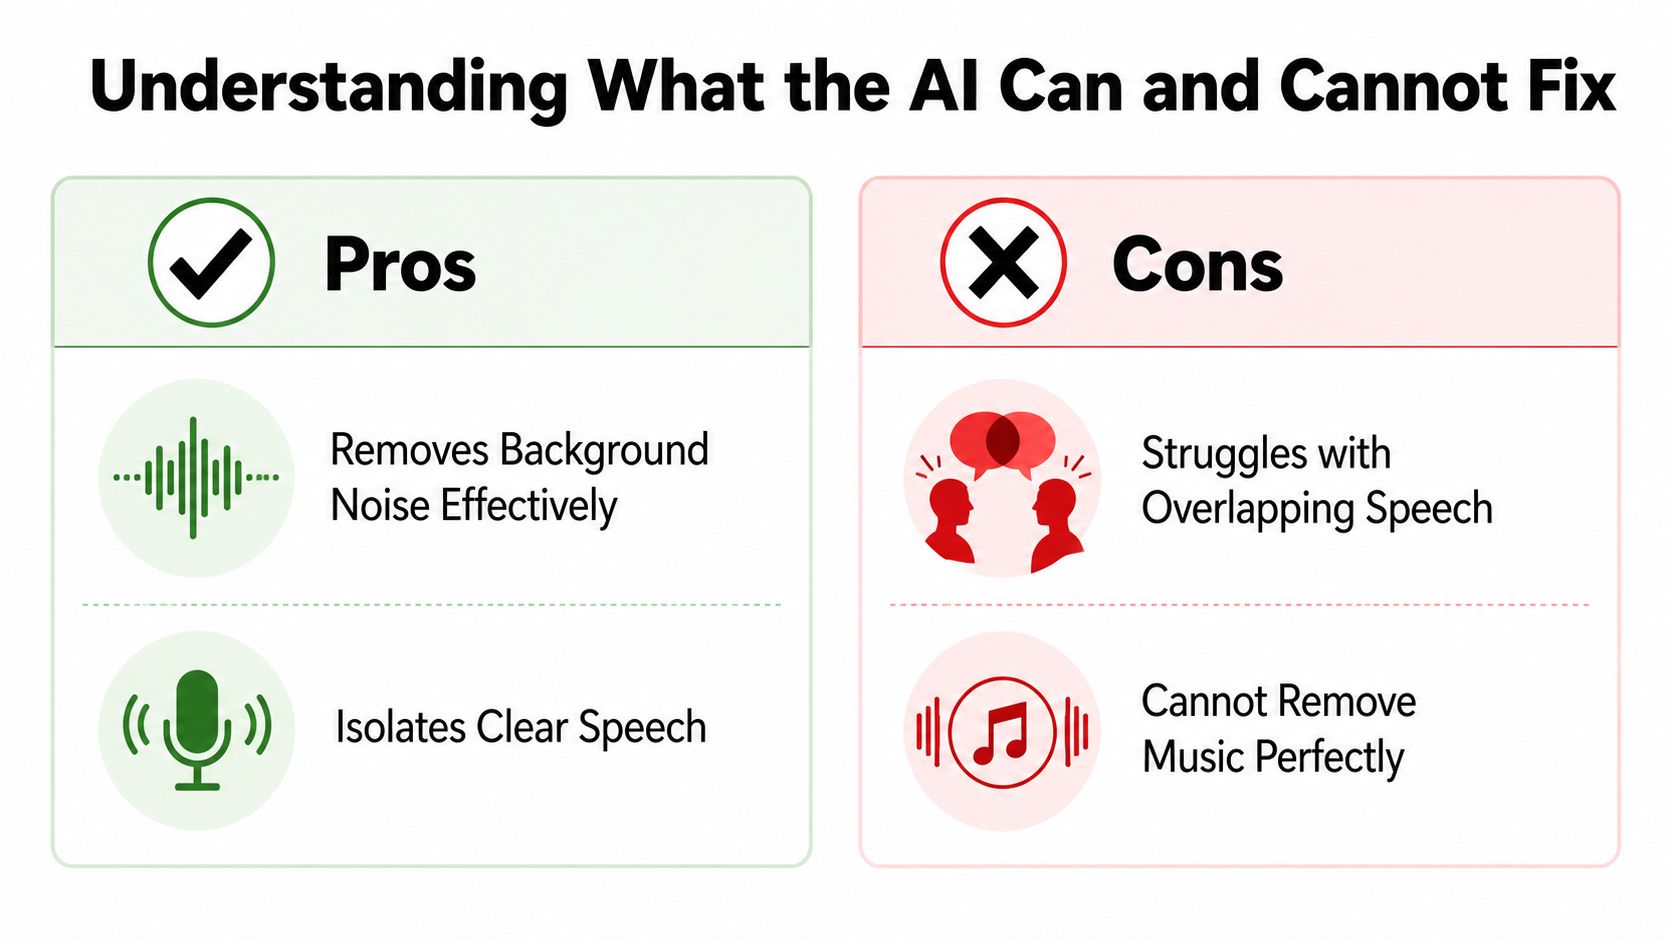
AI separation works best when the target voice has distinguishing information. A visible, front-facing speaker gives an audio-visual model a useful correlation between lip motion and speech. A speaker heard from another room, hidden behind the camera, or covered by a cut doesn't provide the same visual evidence. The audio may still be recoverable, but the model has fewer reliable clues.
Music creates another boundary. A sustained pad, guitar, or percussion track can occupy the same spectral region as speech. The processor has to decide which parts belong to the voice, and any decision can remove vocal detail or leave musical residue. Reverb is similarly difficult because the room reflection contains a delayed copy of the speech. Reducing it may improve clarity, but removing too much can produce a dry, phasey result.
Read the metrics, then trust your ears
Researchers evaluate speech separation with measures such as SDR improvement, STOI, PESQ, SI-SDR, and SI-SIR, rather than relying only on subjective listening. One audio-visual model increased SDR from 2.8 to 6.1 and STOI from 0.66 to 0.71 on TCD-TIMIT after adding visual cues, according to Google's speaker-independent audio-visual separation research. Those results show why visual information can help, but they don't guarantee that every off-screen interview or casual phone recording will sound clean.
Benchmark performance also needs context. A 2025 PLOS One study on audio-visual source separation for conferencing and telepresence reported 71.88% testing accuracy on both the AVE and Music 21 datasets, with related variants ranging from 68.0% to 71.88%, as reported in the PLOS One source-separation study. Those results represent measurable evaluation on datasets, not a promise for uncontrolled creator footage.
Define acceptable before you process
For a social clip, understandable speech with mild ambience may be completely acceptable. For broadcast, theatrical delivery, legal evidence, or a high-profile documentary interview, the same artifacts may require alternate edits, subtitles, reconstructed ambience, or a decision to use another take.
The right question isn't “Can the AI remove everything?” It's “Which defect will distract the audience less?” A little café noise may be preferable to missing consonants. A low room bed may be preferable to a voice that sounds phasey. A short section that can't meet the project standard may need a cutaway, caption, or paraphrase rather than endless processing.
Choosing the Right Quality Mode for Your Project
Quality modes are production choices, not labels of absolute quality. A fast pass can be useful for editorial review, transcript preparation, or a social cut where the final platform will heavily compress the audio. A higher-quality render makes more sense when the isolated stem will undergo additional mixing or must survive close listening.
Start by separating delivery needs from repair needs. If you only need to understand what a speaker said, prioritize speed and intelligibility. If the dialogue will carry an emotional scene, sit under music, or be delivered as a polished master, prioritize natural tone and artifact control.
| Use Case | Recommended Mode | Processing Time | Artifact Risk | Best For |
|---|---|---|---|---|
| Rough interview transcription | Fast or small mode | Shorter | More noticeable on difficult passages | Editorial decisions and selects |
| Social media clip | Balanced mode | Moderate | Moderate if pushed too hard | Clear speech with practical turnaround |
| Podcast interview | Balanced or higher-quality mode | Moderate to longer | Lower when used conservatively | Natural voice and sustained listening |
| Documentary dialogue | Higher-quality mode | Longer | Lower, but difficult scenes still need review | Tonal continuity and room-aware mixing |
| Broadcast or premium delivery | Highest available mode | Longest | Lowest expected risk, not zero | Critical listening and final restoration |
A quick mode shouldn't become the final answer merely because it sounds impressive in solo. Fast processing often preserves obvious background texture or creates rougher transitions around words. Conversely, the strongest mode can overwork an already decent recording and remove the small reflections that tell the listener where the speaker is.
Listening test: Compare the first consonant of words, quiet breaths, sibilants, and the tail of each sentence. Those details reveal processing damage faster than a broad impression of “cleaner.”
For long-form content, process a representative batch before committing to every clip. Include a quiet answer, a loud answer, a passage with music, and a section where another person speaks. If one mode handles three categories well but fails badly on the fourth, split the job by scene instead of forcing one setting across the entire timeline.
The quality decision also depends on what happens next. If you'll apply EQ, compression, de-essing, and ambience reconstruction, leave the isolated stem natural enough for those tools to work. If the file goes directly into a short captioned clip, a slightly more assertive pass may be acceptable, provided the words remain intact.
Troubleshooting Common Isolation Problems
The most common mistake is treating a failed pass as a reason to increase the strength. That often removes more of the voice along with the interference. First identify the artifact, then change one variable and render a short comparison.
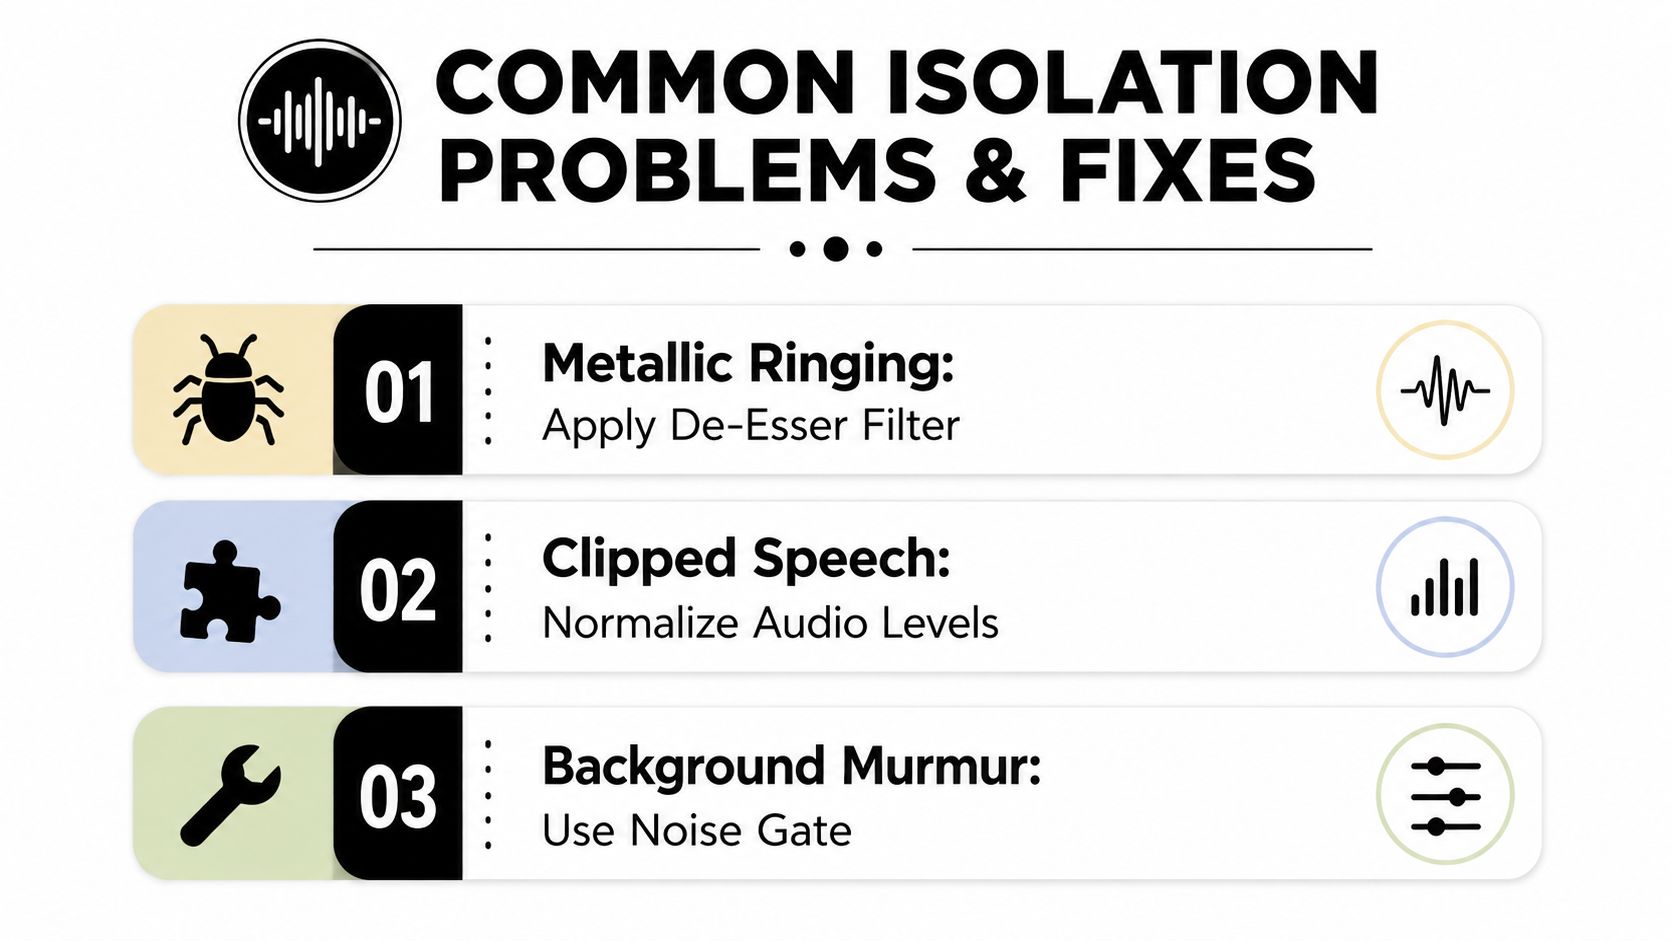
Metallic or robotic speech
A metallic ring usually means the model has removed or reshaped parts of the vocal signal. Lower the isolation strength, try a balanced mode, or blend the processed stem with a small amount of the original. A de-esser can soften harsh consonants after separation, but it won't repair missing vowel texture.
If the voice sounds muffled, check whether high-frequency content was suppressed too aggressively. Use a gentle presence adjustment only after confirming that the dullness comes from processing rather than the original microphone. A narrow boost can exaggerate artifacts, so broad and restrained EQ is safer.
Pumping, murmur, and competing speakers
Rhythmic pumping often appears when the processor mistakes music or repeating environmental noise for a separable source. Test a passage without the music if you have access to the original mix stems. If you don't, automate the processed and original tracks around the worst moments rather than applying one extreme setting everywhere.
For background murmur, a carefully tuned noise gate may help between phrases, but don't gate active room tone so hard that every pause drops into unnatural silence. Spectral repair is better for isolated events such as a clink or cough, while broadband reduction is more suitable for a steady hiss.
Off-screen voices and damaged sources
An off-screen speaker may not benefit from visual guidance, so try audio-only separation or describe the target by microphone position, vocal character, and timing. Multiple overlapping speakers remain one of the hardest cases because the model has to decide which voice to preserve while both occupy similar regions.
Wind noise deserves special caution. It can overlap the lower speech range, and a heavy high-pass filter may thin the voice while leaving the turbulence behind. Clean the low end gradually, then compare the result against the original in context.
If the source is clipped, no isolation setting can recreate the missing waveform accurately. Re-export from the original video if your first file was heavily compressed, check whether another camera or microphone track exists, and process difficult phrases separately. Sometimes the professional solution is an editorial one, use captions, a cutaway, a shorter quote, or a replacement narration.
Final check: If the audience understands every important word and the voice still belongs in the room, stop processing.
ClearAudio lets you upload audio or video, choose dialogue as the target, and process the file through browser-based quality modes for different speed and fidelity needs. Visit ClearAudio to test a short problem passage, compare the result with your original, and decide whether the cleaned dialogue is natural enough for your edit.