You know the take is usable the second you hear it. The framing is good, the pacing is right, and then the room comes back at you, a hollow little tail on every sentence that makes the whole clip feel cheaper than it looked on camera. That's the part that frustrates creators most, because the picture is fine. The damage is in the audio track, and the fix usually starts there.
Table of Contents
- Why Your Video Still Sounds Hollow After Recording
- Diagnosing Echo Severity Before You Touch Anything
- The Fastest Fix With ClearAudio in Your Browser
- Editor Workflows in Audacity, Audition, and DaVinci Resolve
- Plugin Settings That Clean Echo Without Killing the Voice
- Evaluating the Cleanup With Listening Checks and Meters
- Stop the Echo Before It Starts in Your Next Recording
Why Your Video Still Sounds Hollow After Recording
The first time a creator notices the problem, it usually happens on playback, not during the shoot. The camera image looks clean, the light is fine, and then the voice sounds like it was recorded in a bathroom or an empty office. That hollow tone is room reflection, not a video problem, and the recording process has already baked it into the waveform by the time you hear it.
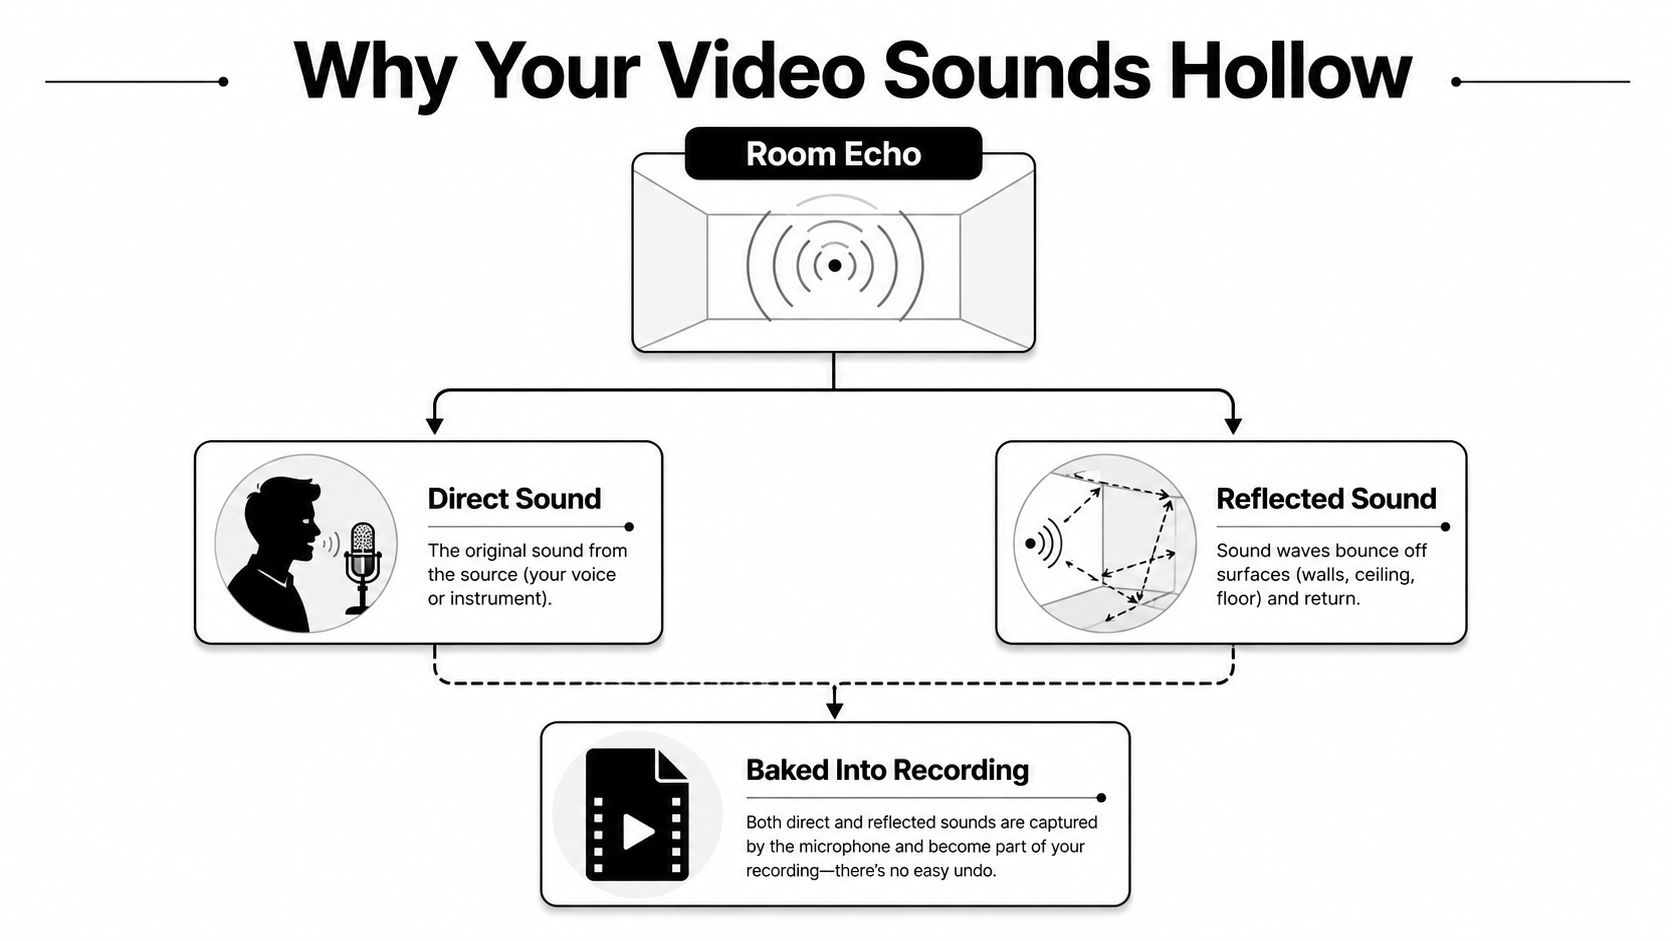
The useful mental shift is simple. You are not repairing pixels, you are cleaning the audio track and then reattaching or exporting it with the video, which is the standard post-production workflow described by current browser tools and editor guides like Cleanvoice's echo and reverb remover. Once you see that, the problem becomes easier to diagnose because the visuals can stay untouched while the sound gets treated.
What echo actually is in a recorded clip
A slap echo is the easy one to hear. It bounces back fast enough that you get a distinct repeat, almost like a quick answer from the wall behind you. A reverb tail is blurrier and longer, and it smears the end of words so consonants lose their edge. A boomy low-end wash is different again, because the room builds up muddy thickness around speech instead of a clean repeat.
Those three problems can feel similar in headphones, but they behave differently in cleanup. A hard slap may need more aggressive de-reverb, while a low-end wash often responds better to careful EQ before you touch anything else. If the room is the issue, the microphone captured it accurately, which is bad news for the take but useful for the fix.
The same speech, same mic, and same camera can sound wildly different in two rooms. Hard walls and bare floors push reflections back into the mic, while soft surfaces absorb some of that energy before it turns into a tail on the waveform. That's why one interview sounds broadcast-ready and another sounds like it was recorded in a stairwell, even when the camera work is identical.
Practical rule: if the voice sounds distant or boxed in, treat it as an audio capture problem first, not a video-editing problem.
Diagnosing Echo Severity Before You Touch Anything
The quickest way to ruin a good recording is to overcorrect a mild one. I've seen editors reach straight for aggressive dereverb because the room sounded “bad,” then end up with speech that was thinner and less intelligible than the original. A short diagnosis step prevents that mistake and tells you whether the clip needs a gentle browser cleanup or a deeper editor pass.
Listen for the reflection type
Start with a clap test. A hard, obvious bounce means the room is throwing sound right back at the mic, while a softer bloom points more toward reverb than a sharp echo. Then listen to a spoken line and focus on what happens after the word ends. If the room rings on too long, the problem is in the decay tail, not the front edge of the voice.
The 200 ms decay check is a practical listening habit, not a lab measurement. If the room keeps hanging around long enough to blur the next syllable, you're no longer dealing with a subtle ambience issue, you're dealing with speech masking. That's where cleanup can help, but it's also where the risk of a muffled result rises fast.
A waveform can give you a visual clue. Clean dialogue tends to look like clearer transients, while echo makes the shape look thicker and blurrier around the peaks. That isn't a replacement for listening, but it helps confirm what your ears are already telling you.
Match the problem to the fix
- Mild: the voice is still clear, but the room sounds obvious in quiet pauses. A browser cleanup or light DeReverb is usually enough.
- Moderate: words are intelligible, but the tail softens consonants and makes the clip feel distant. Now, careful editor work starts to matter.
- Severe: the room masks the speech itself, and the voice loses natural tone when you push cleanup. That's the point where software can help, but it won't fully rescue the take.
The core question is not whether you can hear echo, it's whether speech is still carrying enough detail to survive processing. If the dialogue is already buried, the safest move is usually to avoid stacking fixes and instead choose the least destructive path available.
The Fastest Fix With ClearAudio in Your Browser
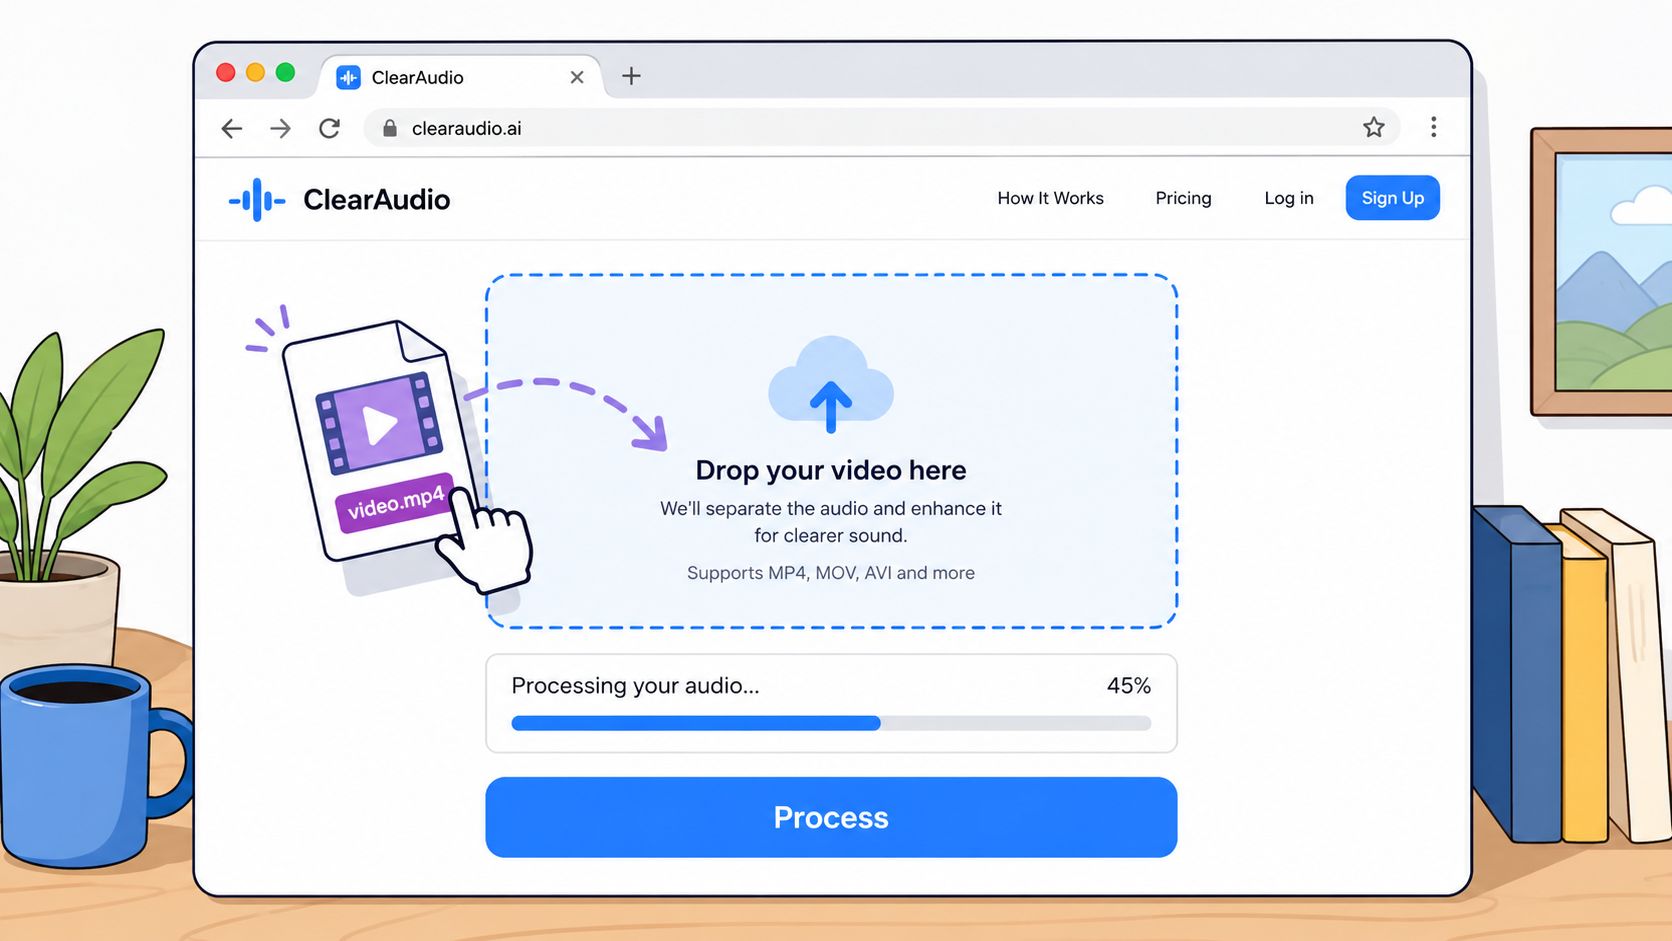
A browser pass is the first move when the clip is close to usable and you do not want to open a full editor yet. Upload the video, let the service work on the audio track, then bring the cleaned file back into the project. That fits the browser-based approach described in Cleanvoice's video echo remover, where the file is treated as an audio cleanup task attached to video rather than a visual edit.
Choose the stem you want to preserve
For dialogue-heavy footage, start with speech or dialogue. If the clip is music-driven, the target changes, because you do not want to scrub the voice and flatten the bed that supports it. Web tools are built around this stem-based workflow, and that is the right way to think about a file where picture and sound stay locked together.
ClearAudio is one tool in that category. It lets you upload a file in the browser, choose what to keep, and process speech, vocals, music, dialogue, or background music without opening a desktop session. For creators who just need to remove echo from video and keep the edit moving, that browser step is the shortest path.
Match the quality mode to the job
The mode should match how much polish the clip needs. Small works for quick drafts, Base balances speed and quality, and PRO Large or PRO Large-TV are the stronger picks for publication-ready video files. If the audio will sit under talking-head footage, a presentation, or an interview cut, the more careful mode usually makes more sense than a rushed pass.
Use advanced controls only when the voice needs help beyond the default cleanup. More processing does not automatically mean better quality. In practice, the cleanest browser result often comes from the lightest pass that restores intelligibility without pushing the voice into that flat, overprocessed sound.
If the cleaned file sounds natural in the browser, stop there, even if a little room tone remains. Chasing a stronger cleanup can pull too much texture out of the voice, and once that happens the fix is harder to undo.
Editor Workflows in Audacity, Audition, and DaVinci Resolve
Once the clip needs manual control, route the audio into an editor and work on it there. The common move is to detach or extract the audio, clean it separately, then bring it back into the timeline, which lines up with the standard workflow described in Aiarty's guide to removing echo from video. That extra step matters because room echo is embedded in the waveform, so the picture itself rarely needs any repair.
Pick the editor that matches the job
| Editor | Best For | Echo Strength | Cost |
|---|---|---|---|
| Audacity | Quick one-off cleanup, beginners, simple spoken word | Mild to moderate | Free |
| Adobe Audition | Detailed spectral repair and more forensic dialogue work | Moderate to severe | Paid |
| DaVinci Fairlight | Staying inside Resolve while keeping the edit in one timeline | Mild to moderate | Included with Resolve |
Audacity is the least intimidating route when you just need to get through a podcast clip or a rough interview. Audition gives you more room to work when the recording is messy and needs surgical attention. Fairlight is the practical choice for editors who already live in Resolve and don't want to bounce between apps.
How the routing step changes the workflow
In Premiere Pro, the built-in DeReverb effect is usually applied directly to the clip, while other editors prefer a cleaner handoff into an audio workspace first. That difference matters because direct clip processing is fast, but separate audio editing gives you more control if the first pass sounds too heavy. The right choice depends on whether you need speed or finer judgment.
For one-off cleanup jobs, the free route is often enough. For archive footage, field interviews, or projects where the room sound is especially distracting, a dedicated editor gives you more options before the voice starts to fall apart. The best workflow is the one that gets you a clear result without making the dialogue feel overworked.
Plugin Settings That Clean Echo Without Killing the Voice
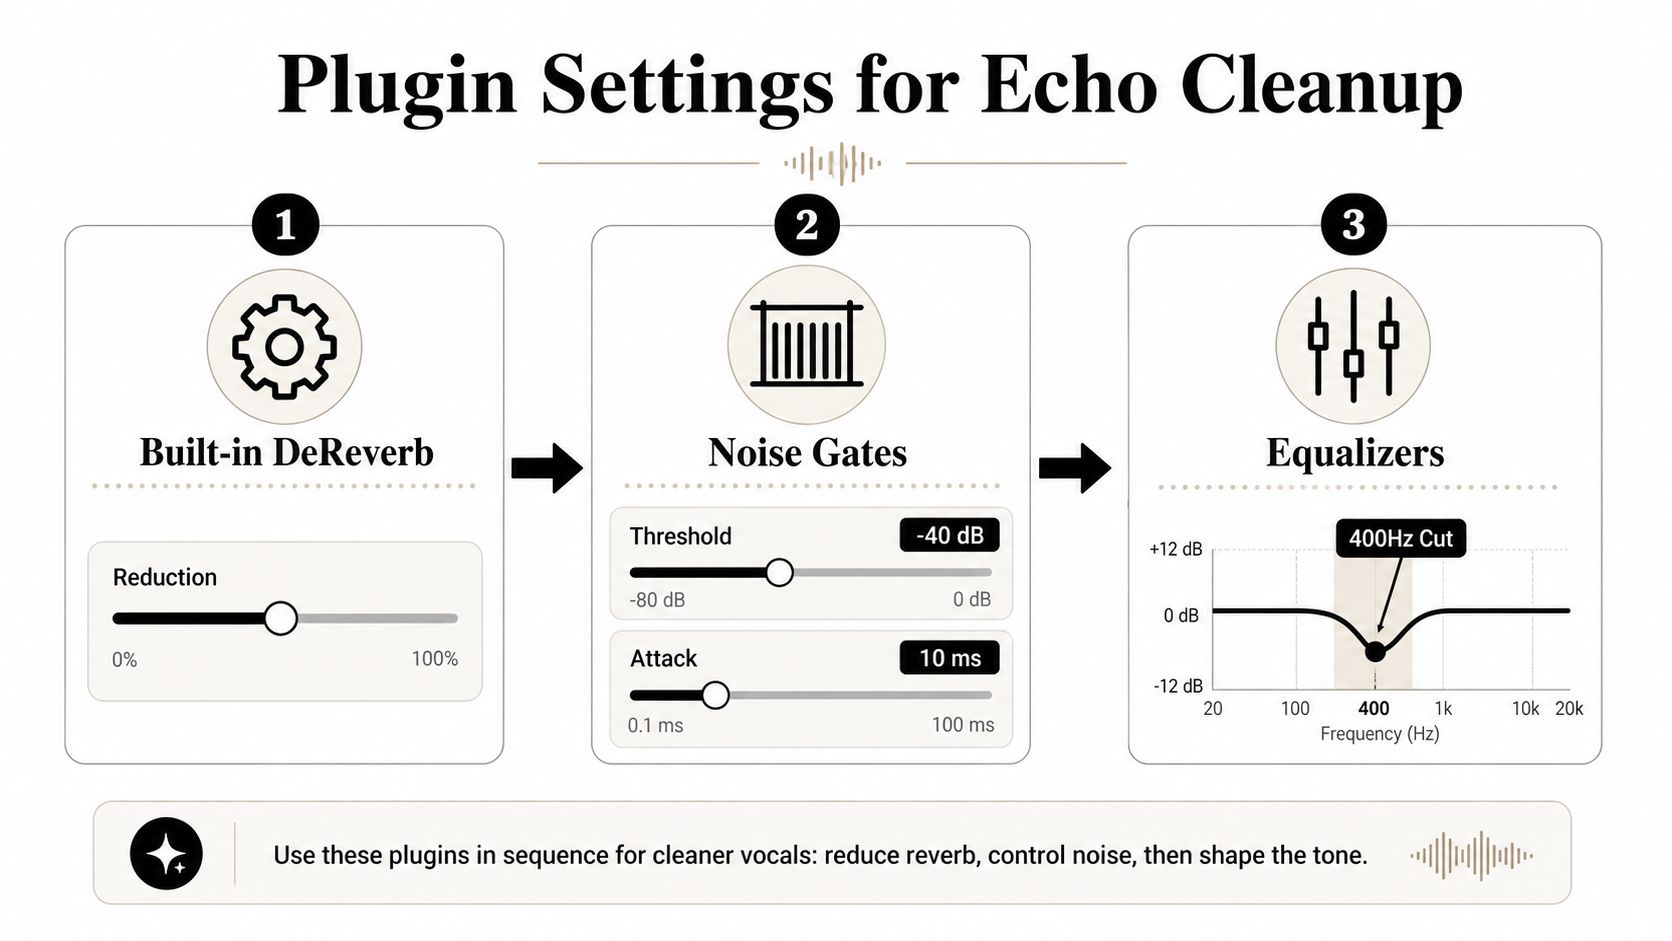
In Premiere Pro, DeReverb is one of the first controls I reach for, but I treat it like a balance knob, not a cure. The 10% to 100% range gives you room to work, yet the top end can wipe out echo along with the air and shape of the voice, so the better move is to preview in context and stop before the dialogue starts sounding cramped (EaseUS). The tradeoff is simple, more reduction helps with the room, then starts taking the voice with it.
Start with de-reverb, then shape the voice
The safest order is usually reduce echo first, then use EQ, then gate only if needed. That sequence follows the way the problem lives in the waveform. If you gate too early, you can clip off word endings that carry natural speech rhythm. If you EQ before the room is under control, the boxy tone often gets more obvious instead of less.
For spoken-word video, a moderate DeReverb setting is usually where the work starts. In practice, many editors stay well below the maximum, and one Premiere guide notes that 10% to 25% can work for a lot of clips, while pushing toward 100% should be reserved for the worst recordings and checked carefully in context (YouTube guide). That matches what I hear in real sessions. Light cleanup keeps the voice intact, while heavy cleanup can make speech sound pinched or hollow.
EQ is most useful in the muddy middle. Cuts around the 200 to 500 Hz range can reduce boxiness and make the cleaned voice feel less trapped in the room. The goal is not to build a polished broadcast tone, it is to strip out the part of the space that still hangs on after the reverb tail is reduced.
Use gates carefully, not automatically
A noise gate can tidy pauses, but it is a blunt tool if you set it too high. Keep the threshold just below the speech floor so the gate opens for words and stays quiet when the room is the only thing left. Push it too far and the pauses start pumping, which makes the delivery feel clipped.
Rule of thumb: if each extra plugin makes the voice less natural, stop adding plugins.
One more trap is worth calling out. Do not stack multiple dereverb tools just because each one promises a little more cleanup. The artifacts build faster than the gains, and the result often turns watery, thin, or slightly phasey. One careful pass usually beats three aggressive ones.
Evaluating the Cleanup With Listening Checks and Meters
A cleaned waveform can still sound wrong. That's why the true test happens in playback, not in the plugin window. I always compare original and cleaned versions at matched levels, because louder audio often feels better even when it's worse, and that trick can hide overprocessing until the final export.
Listen on more than one playback system
Headphones expose small artifacts fast. Studio monitors tell you whether the voice still sits naturally in space. Earbuds reveal whether consonants survived the cleanup or got smoothed away. A clip that sounds fine in one place but brittle in another usually needs a lighter hand.
The obvious warning signs are easy to spot once you know them. Watery ringing, thinned consonants, and pumping on pauses all point to a cleanup pass that went too far. If the voice loses articulation, the fix has crossed the line from restoration into damage.
A meter helps verify that the cleanup didn't drop the dialogue out of the mix. Use your level readout to confirm the voice still sits where you want it before export, then check the cleaned version again with the original. The meter won't tell you if the voice sounds natural, but it will stop you from making level mistakes while you chase echo removal.
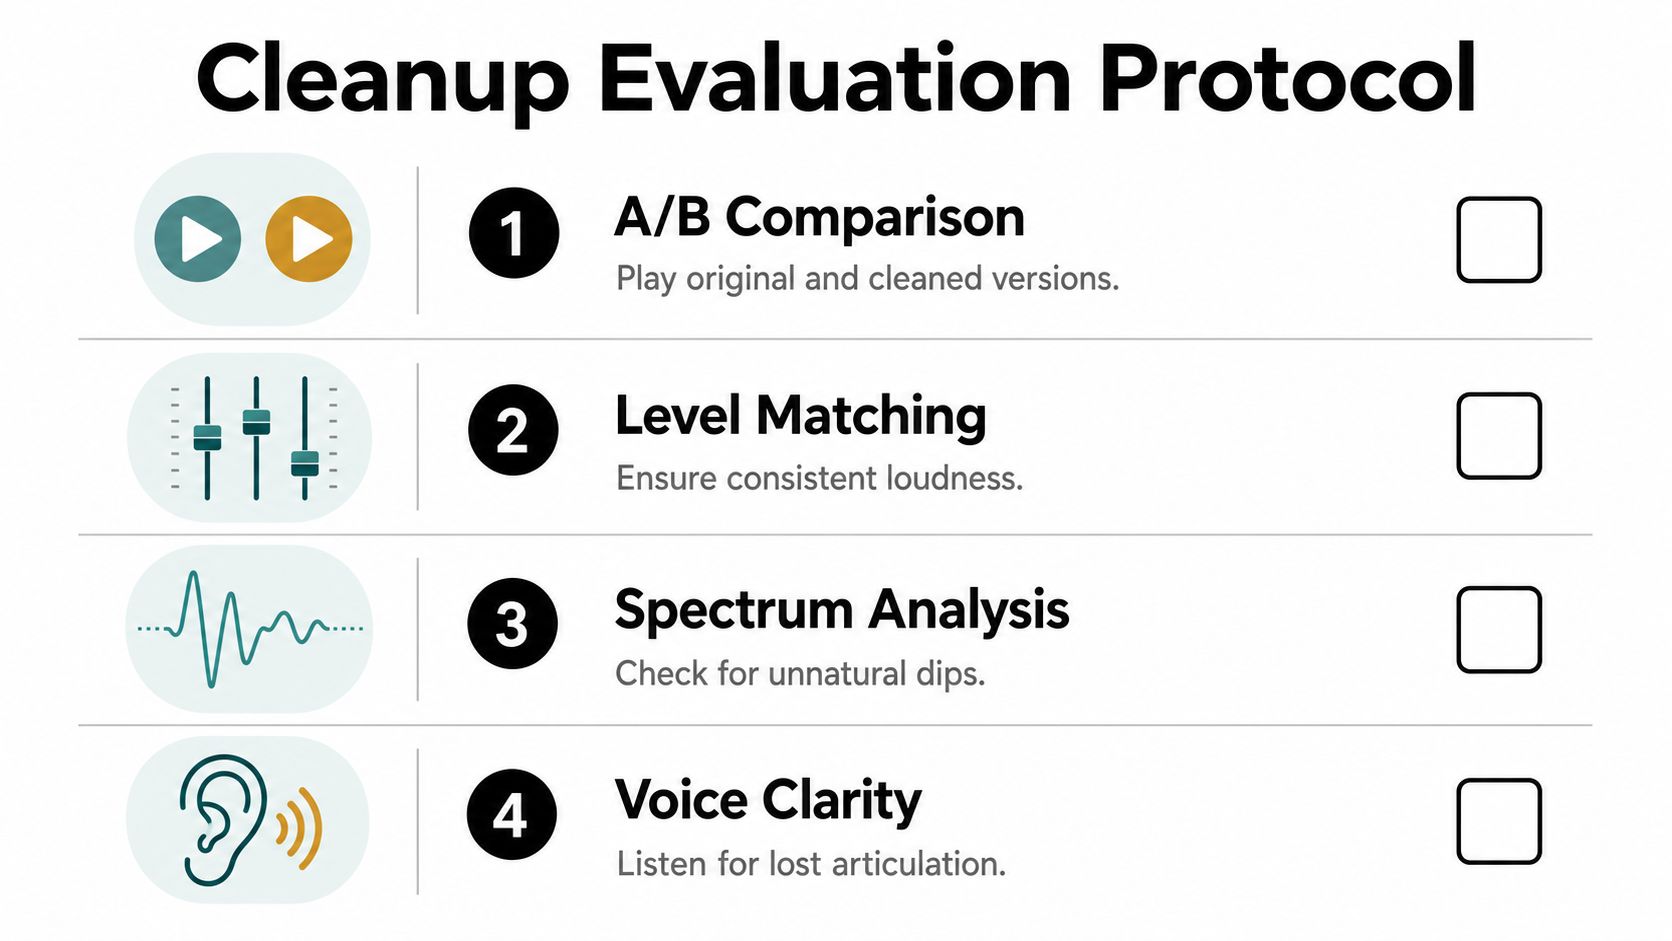
Pass or fail the file with a short checklist
- A/B comparison: play original and cleaned versions back to back at the same loudness.
- Level matching: make sure one version isn't winning just because it's louder.
- Spectrum check: look for unnatural dips that suggest overprocessing.
- Voice clarity: listen for lost articulation, especially on consonants and word endings.
If the cleaned version keeps the speech clear, removes the distracting tail, and still sounds like the same person, the job is done. If you start hearing the processor instead of the speaker, back off and undo the last change.
Stop the Echo Before It Starts in Your Next Recording
The cleanest echo fix starts before the edit. Room treatment and recording setup are the least flashy parts of the workflow, but they save the most time later. Blankets, curtains, rugs, closets, and other soft surfaces around the mic all help cut reflections before they hit the capsule, as noted in this practical recording-room advice. If the room sounds hard and hollow, every post pass begins at a disadvantage.
Make the room less reflective tonight
Start with the obvious surfaces. A blanket behind the speaker helps. A rug on a hard floor helps. A closet full of clothes can beat a large empty room because fabric absorbs reflections before they bounce back into the mic. It will not look polished on camera, but it changes the source audio more than many people expect.
Mic placement matters just as much.
Keep the microphone close to the mouth, around six inches or less if the setup allows it. That puts more direct voice in the recording and less room sound, which gives you a cleaner track to work with later. A lapel mic in a bare conference room does the opposite, because it picks up the room along with the speech and leaves you with less room for correction in post.
Decide when post is enough and when it isn't
Some recordings can be fixed after the fact, and some cannot be re-recorded at all. Archived footage, live events, and remote interviews often fall into that second group, so software is the only realistic option once the file exists. The trade-off is simple, if the echo is moderate, cleanup can help. If the room tone dominates the voice, the tools start stripping away the character of the speaker along with the reflection.
That is why the recording stage matters so much. Spend a few minutes on setup before you hit record, and you avoid a lot of damage control later. The voice arrives clearer, the edit moves faster, and the final file needs less rescue. If you still need to remove echo from video, the browser and editor tools can help, but they work best when the recording is already close to right.
If you're cleaning dialogue, interviews, or YouTube footage and want a faster first pass, ClearAudio can process video files in the browser and focus on speech while reducing room echo. Use it on a difficult clip, then compare the result with your current editor workflow to hear how much cleanup the recording still needs.